|
Welcome to the world of Zynq! Hopefully these tutorials will help you to get on your feet as Zynq and it's development ecosystem are quite complex. This tutorial will guide you through installing a linux virtualbox on your computer as several of the low level tools are only available in linux. For those of you that have a linux computer you can skip the first section of this blog however you can pickup where I walk through installing the Xilinx software. Enjoy.
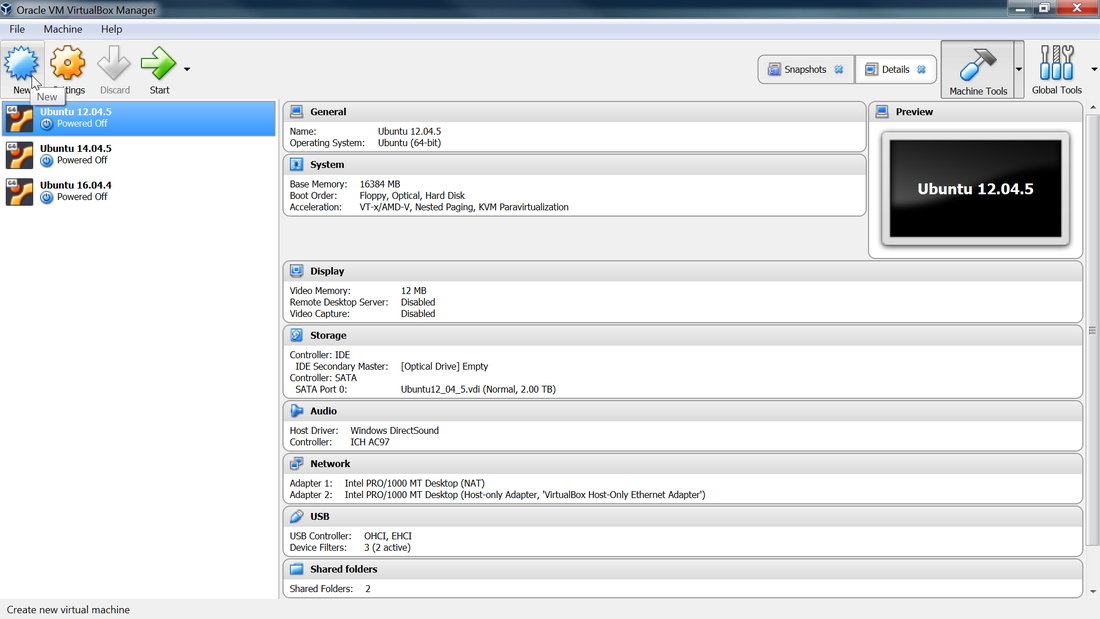
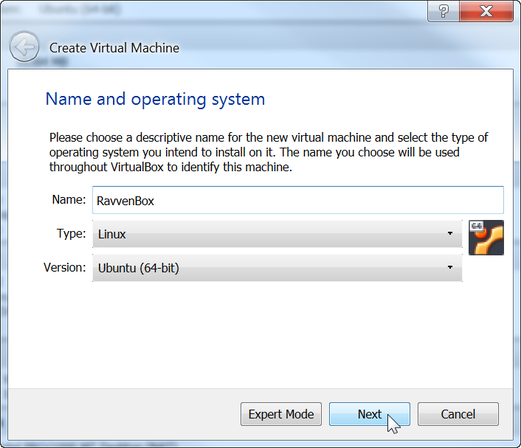
The first step is to install Oracle VirtualBox as well as the VirtualBox Extensions Pack. I used version 5.28 but if you want the latest you can pull it down from here. Once you have installed it you should see something like this however I already have some virtual machines created. Click on the New, and then type in a name for your box and set it to Ubuntu 64 bit.
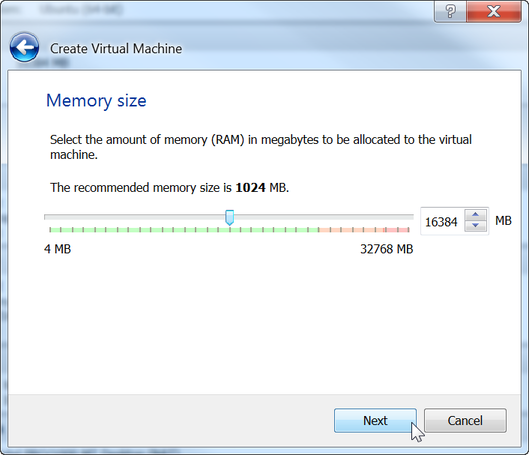
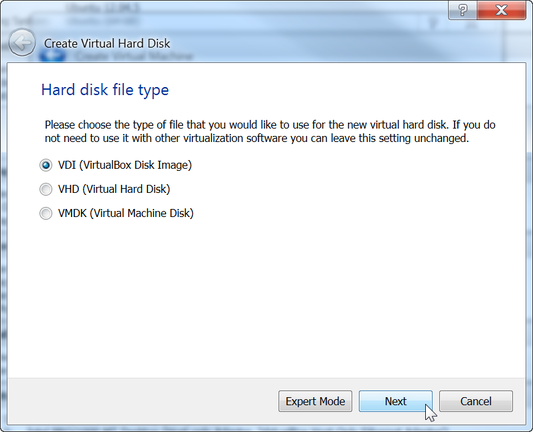
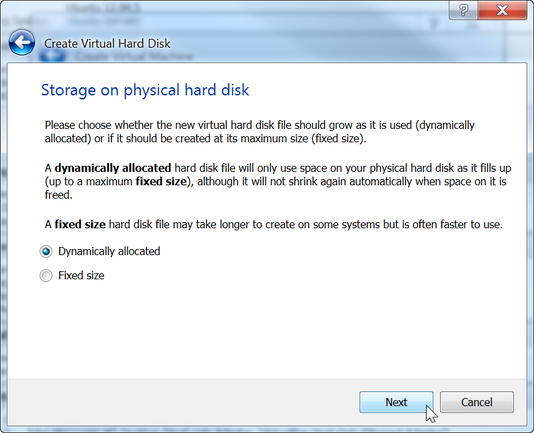
I set my memory to 16384 MB as I have 32 GB on my system, but you can set it to whatever you like. Just make sure that you have enough RAM for both your virtual machine and your host operating system. Then follow the below steps.
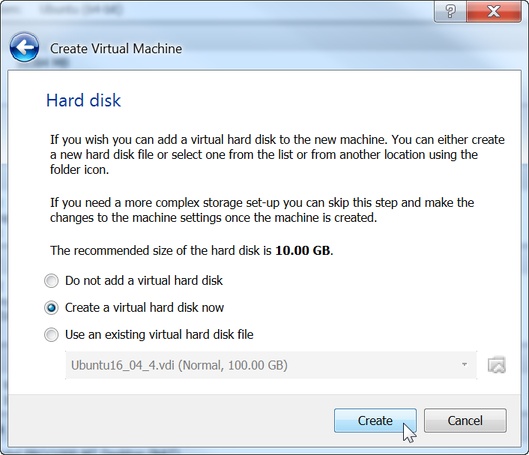
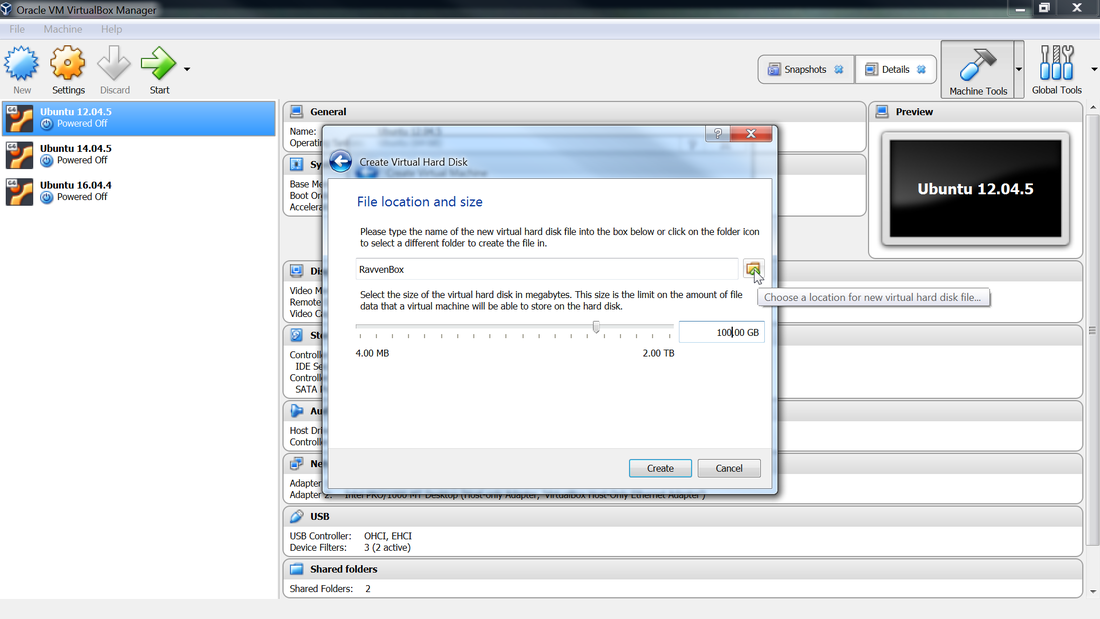
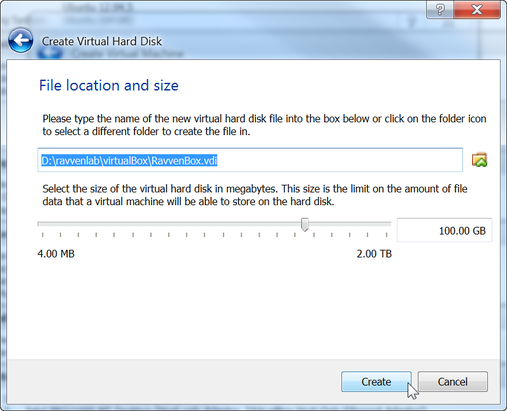
Here I set the size of the hard drive to 100 GB and make sure to click on the location button or else it will get buried in some unknown windows folder. Again, make sure that you indeed have 100 GB of free space. You can get away with much less probably but remember this is the hard drive size of your virtual box and it has to be big to handle all of the data and programs that you will want to install.
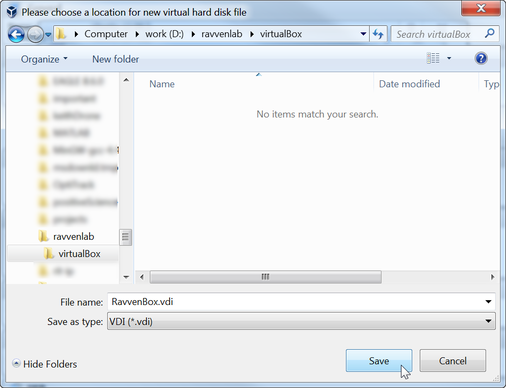
Navigate to the folder that you will store your virtual machine in. In my case is is the ravvenlab folder under the virtualBox subfolder. This file can get quite big so be carefully where you put it.
Once you have your folder selected, hit Create.
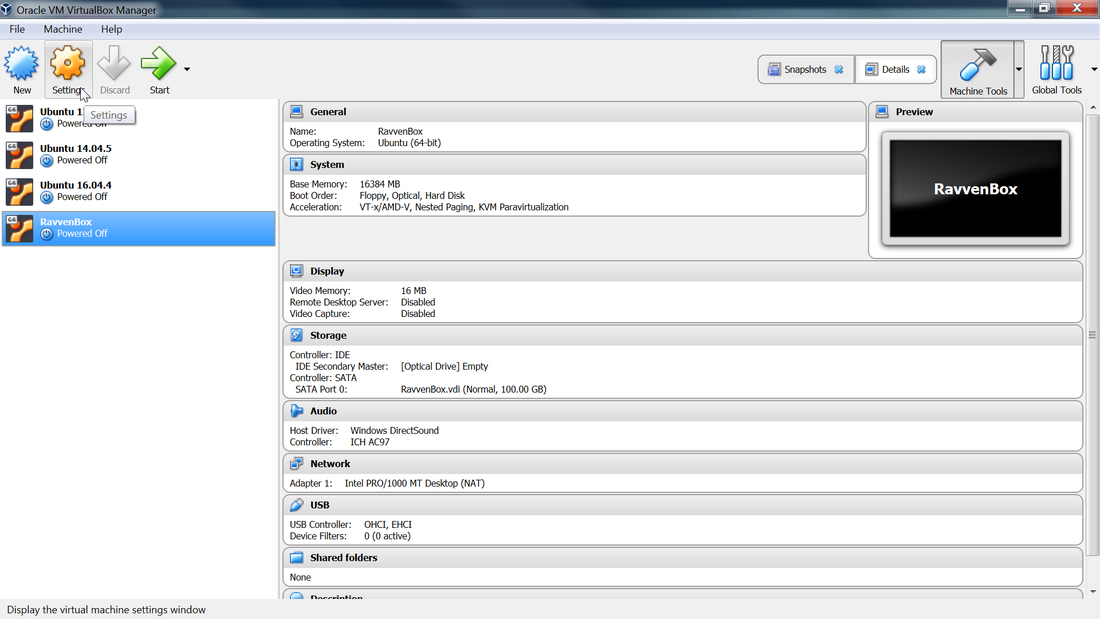
Now your virtual machine [VM] should be created and then next step is to set it up.
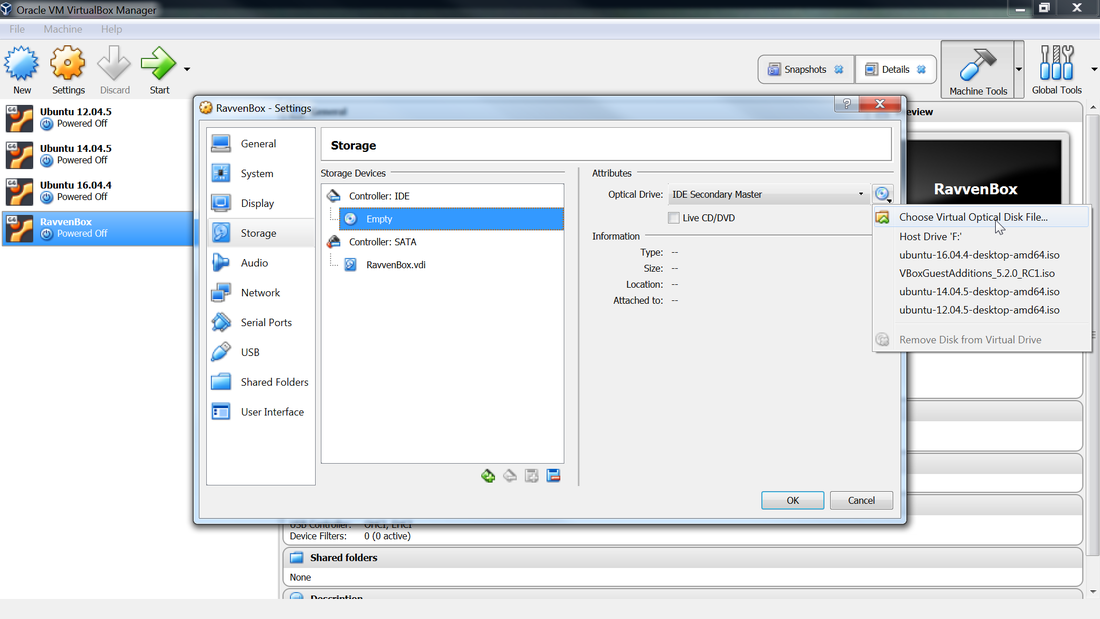
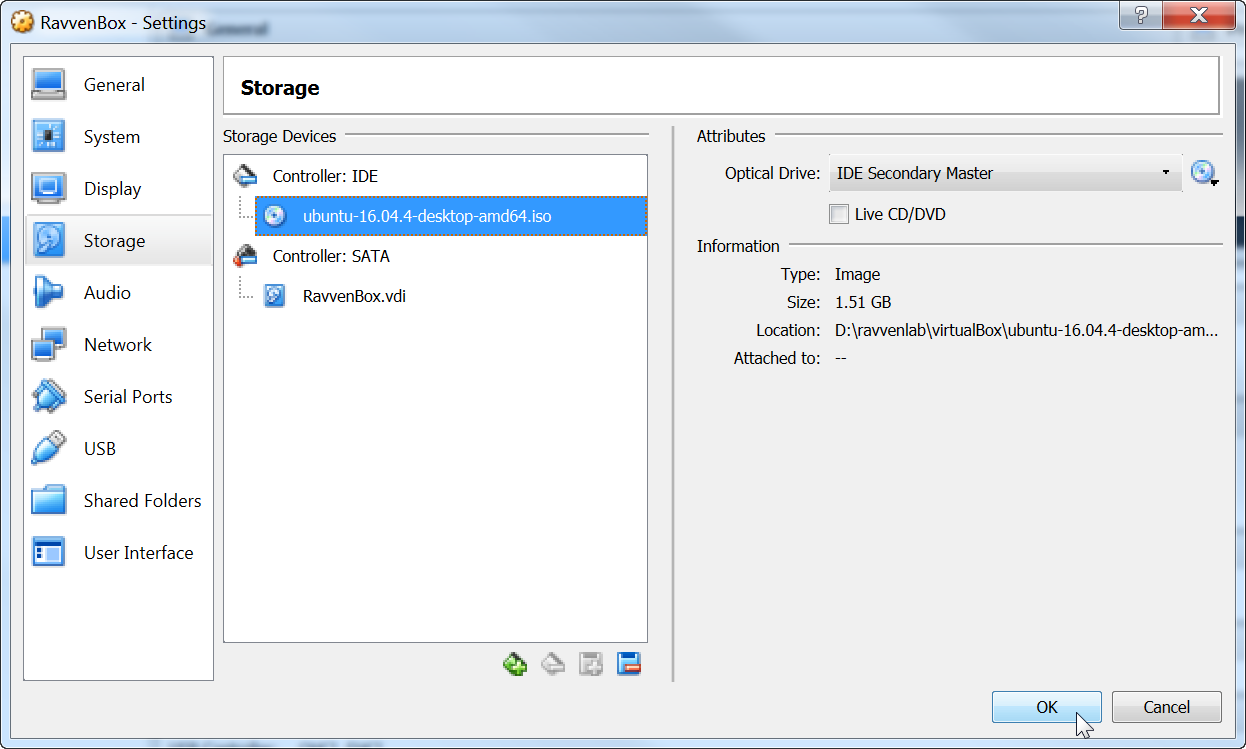
Click on Storage and the click on Choose Virtual Optical Disk File. This will allow you to specify an Ubuntu 64 bit .iso file.
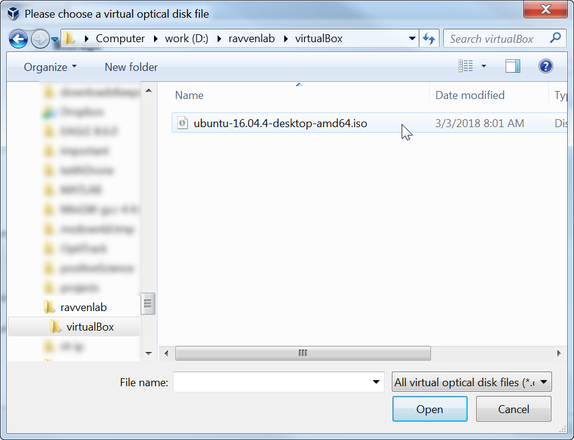
Navigate to your Ubuntu 16 bit .iso. If you do not have one it can be downloaded here.
Once you have your .iso file selected click on OK.
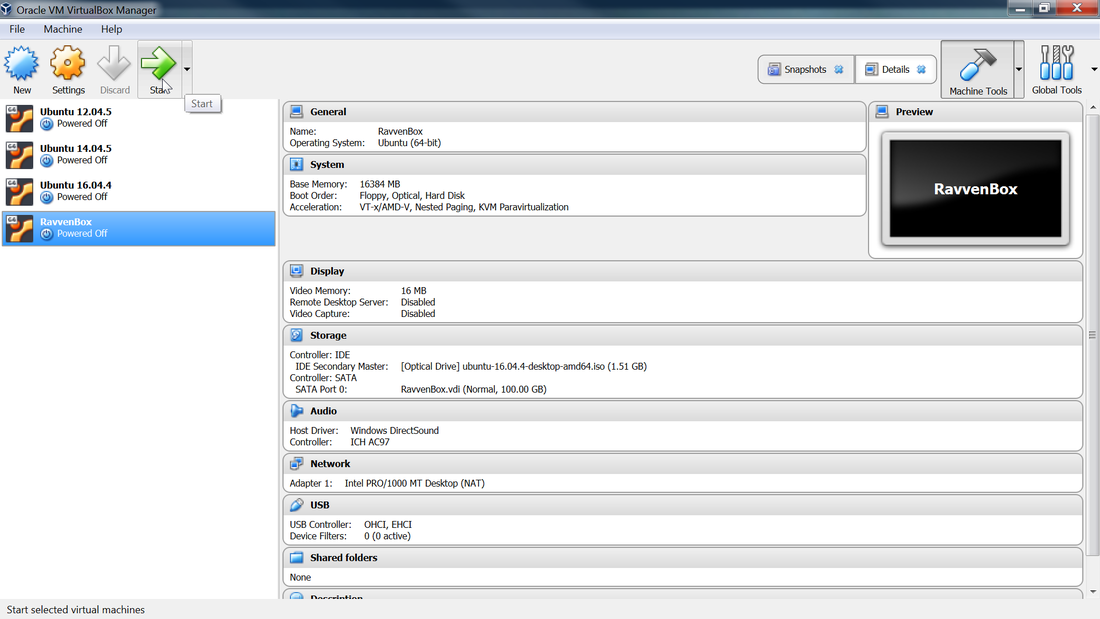
Next, click Start at the top of the screen. This will turn on your newly created VM.
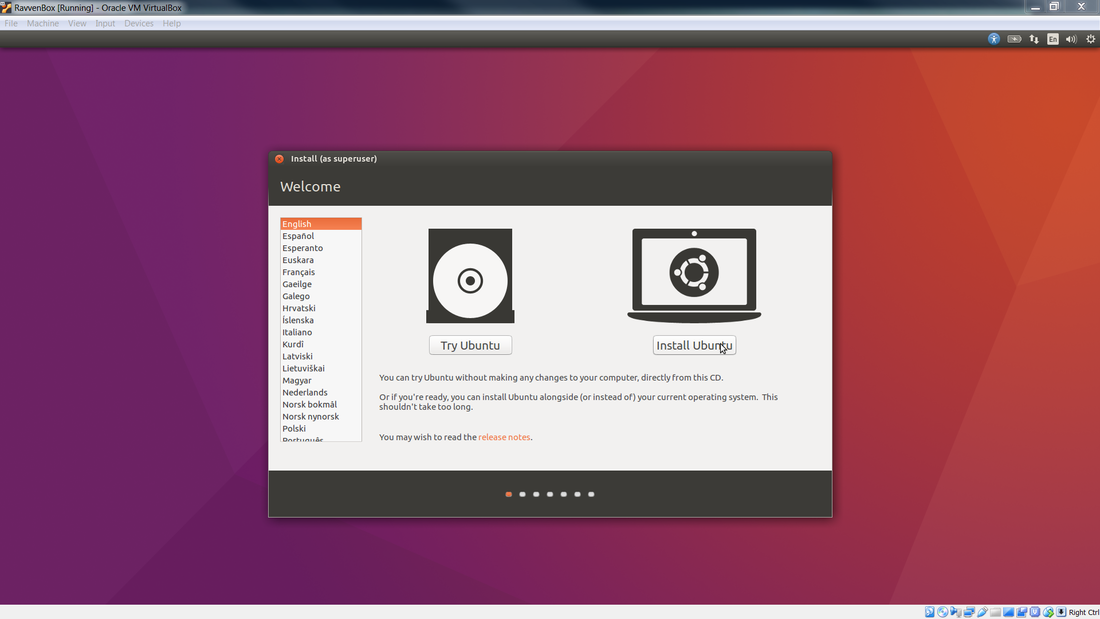
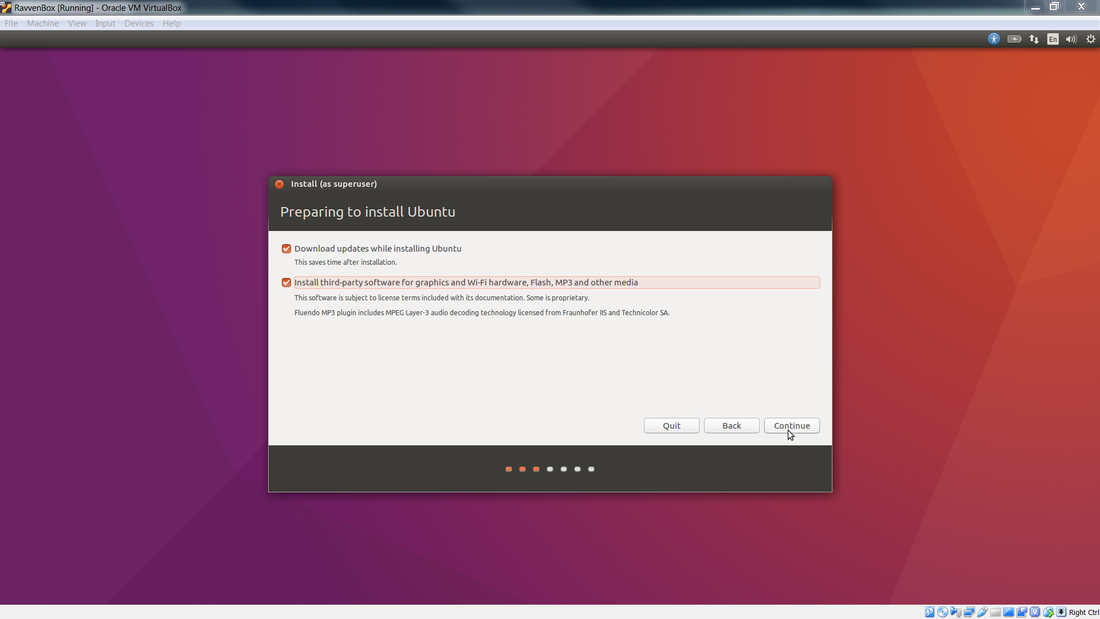
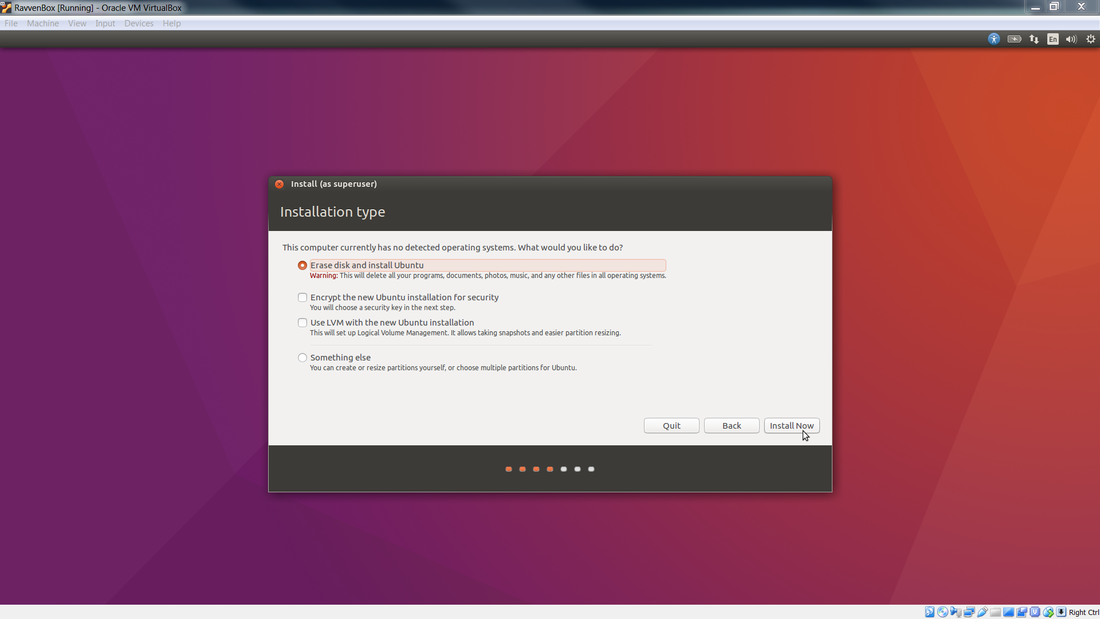
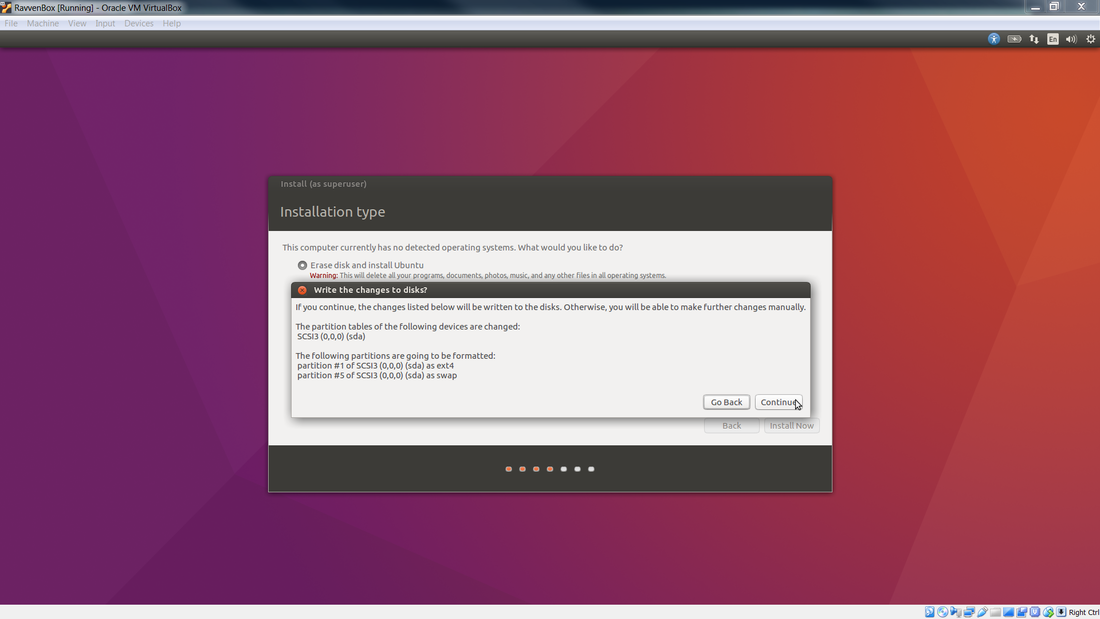
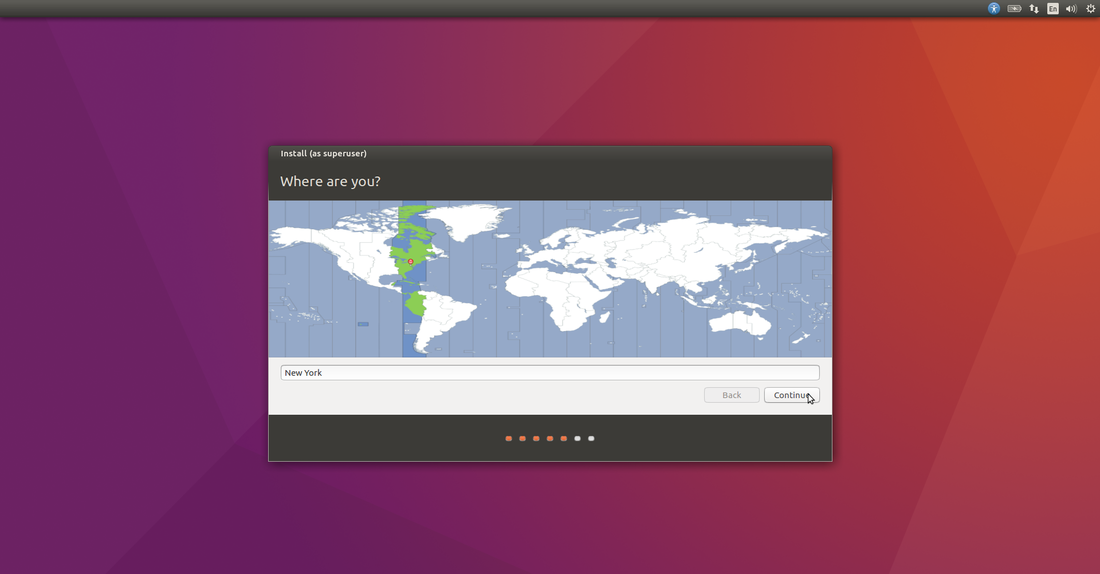
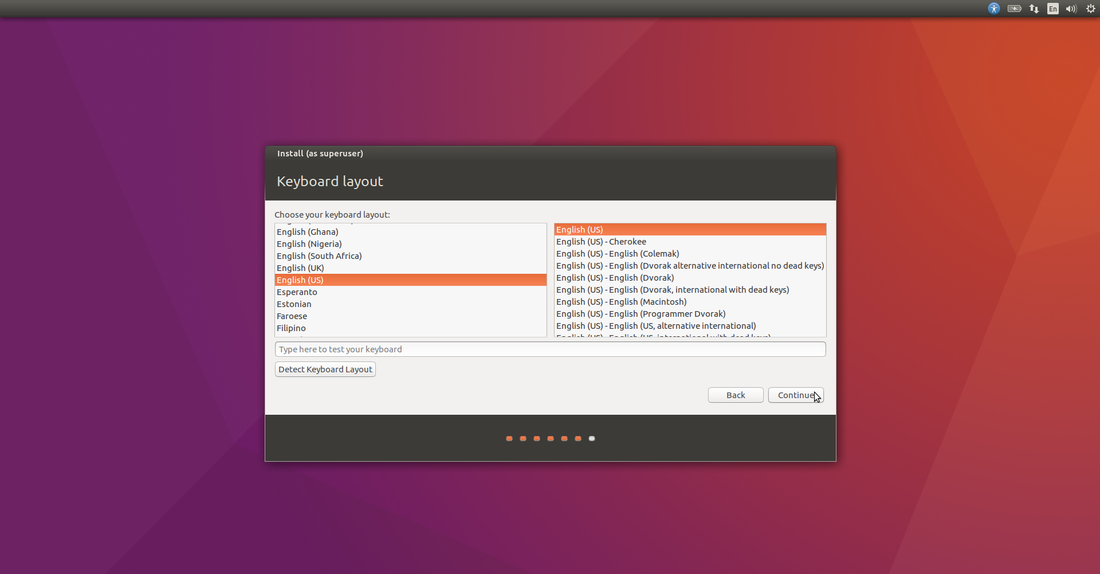
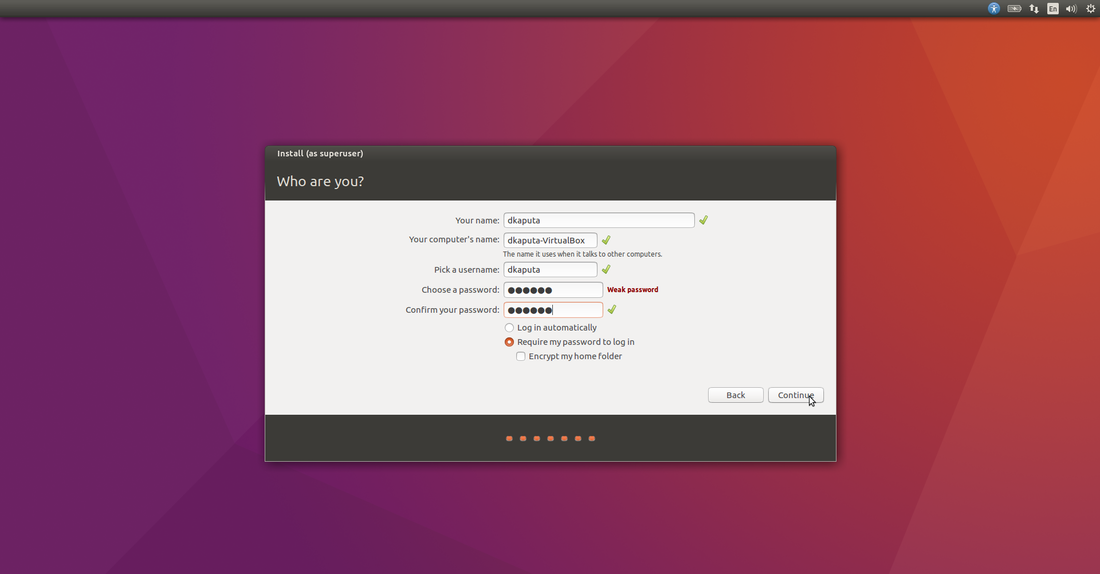
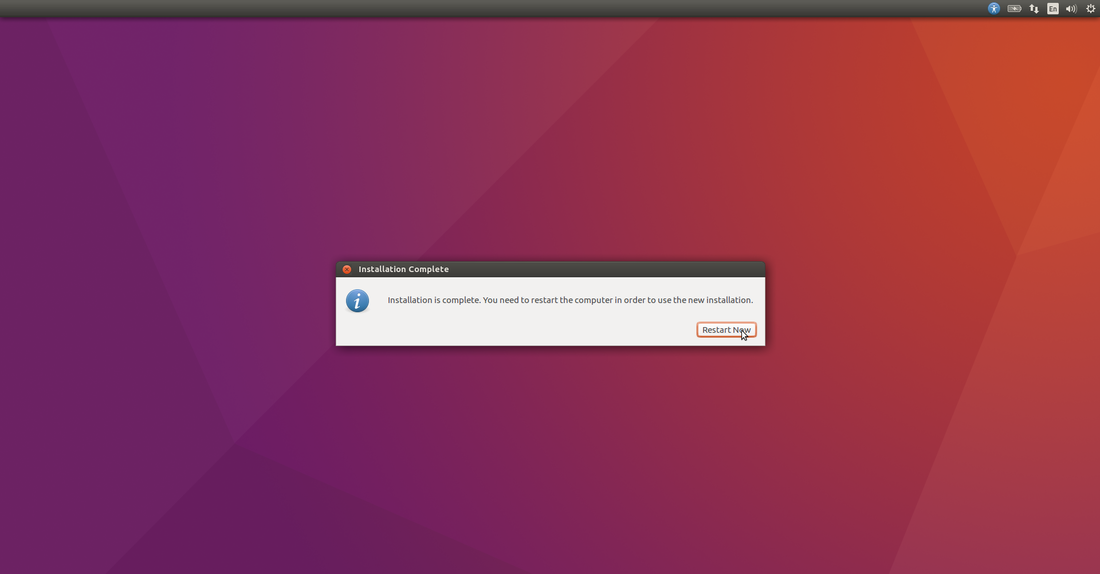
Select to Install Ubuntu. Also click through all of the below setting obviously putting in your choices. I am in NY so I selected Eastern Standard Time and English. Also make sure to download updates and install 3rd party software, although I hate checking those boxes.
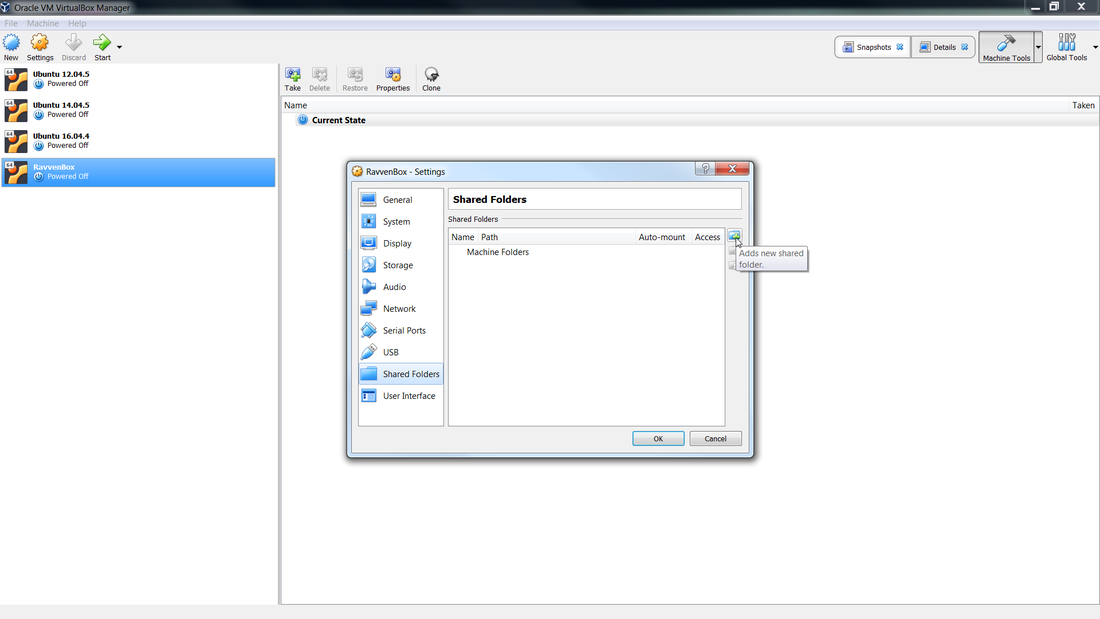
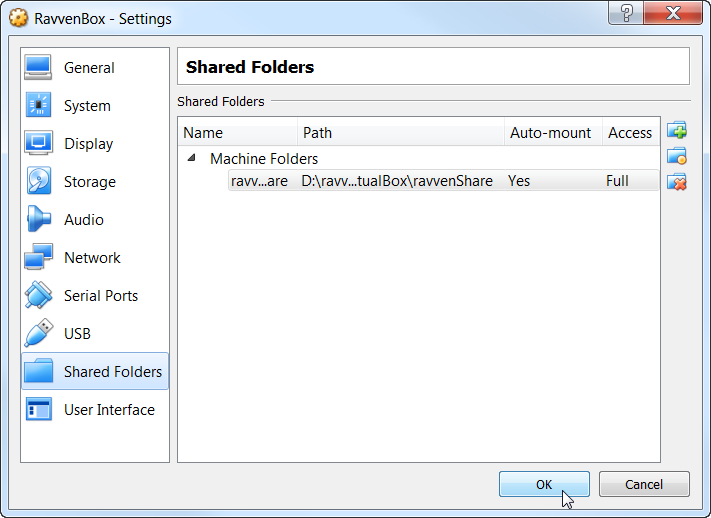
Congratulations, you now have a working Ubuntu 64 bit VM. You still need to add some bells and whistles to it though. Select the Shared Folders tab and click on the Add Shared Folder button.
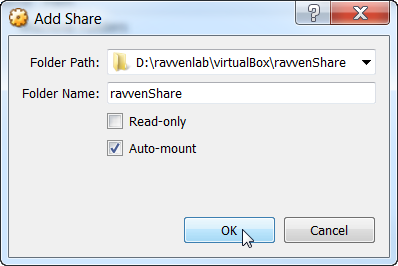
Navigate to a folder that you would like to use as the VM shared folder. This folder will act as a gateway between your primary operating system and your VM.
Once you have selected your folder, click OK.
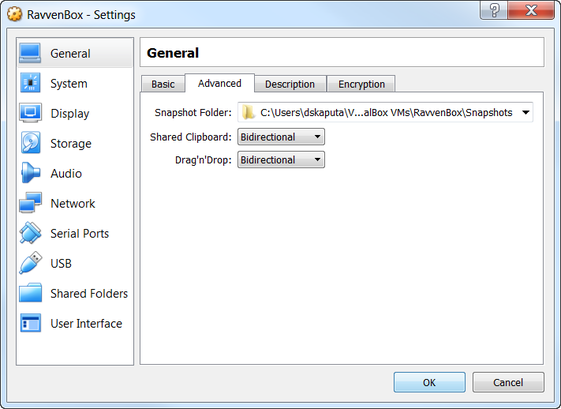
Then click on the General tab and set the clipboards to Bidirectional. This will allow you to copy and paste text between your primary operating system and your VM.
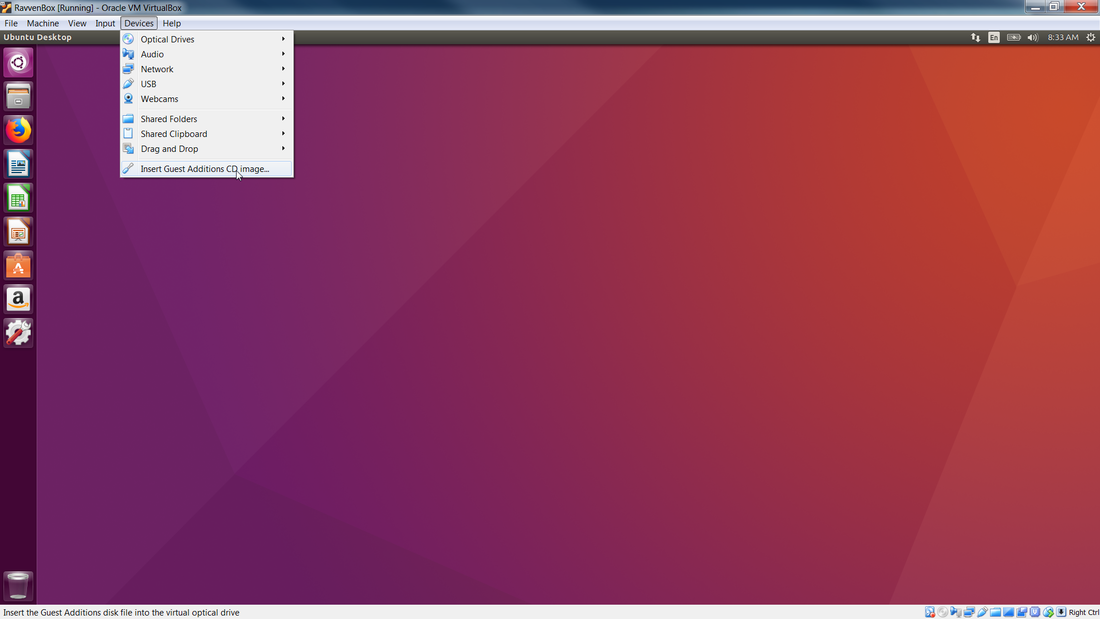
In order for these setting to take effect you will need to power on the VM and then select Insert Guest Additions CD Image.
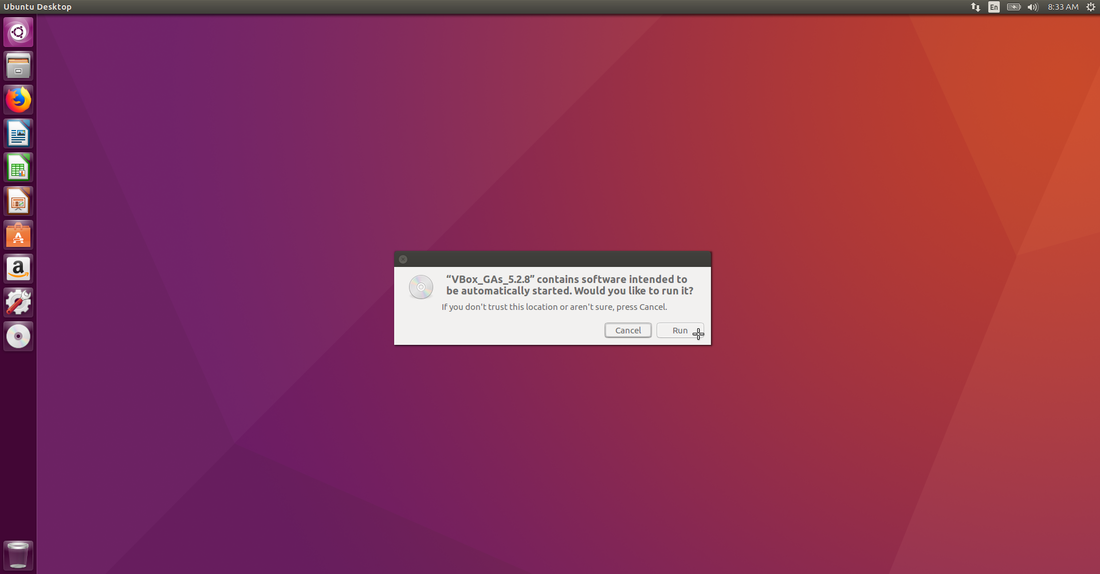
Then click Run. This is supposed to work successfully however it rarely does for me. As a work around I had to go to the terminal and enter the below command.
apt-get install virtualbox-guest-additions-iso
Once you have successfully installed the Guest Addition you should be able to cut and paste between your host OS and VM and see your shared folder under the /media directory. Sometimes you will have to do a sudo -i command in order to become root before you can see you shared folder.
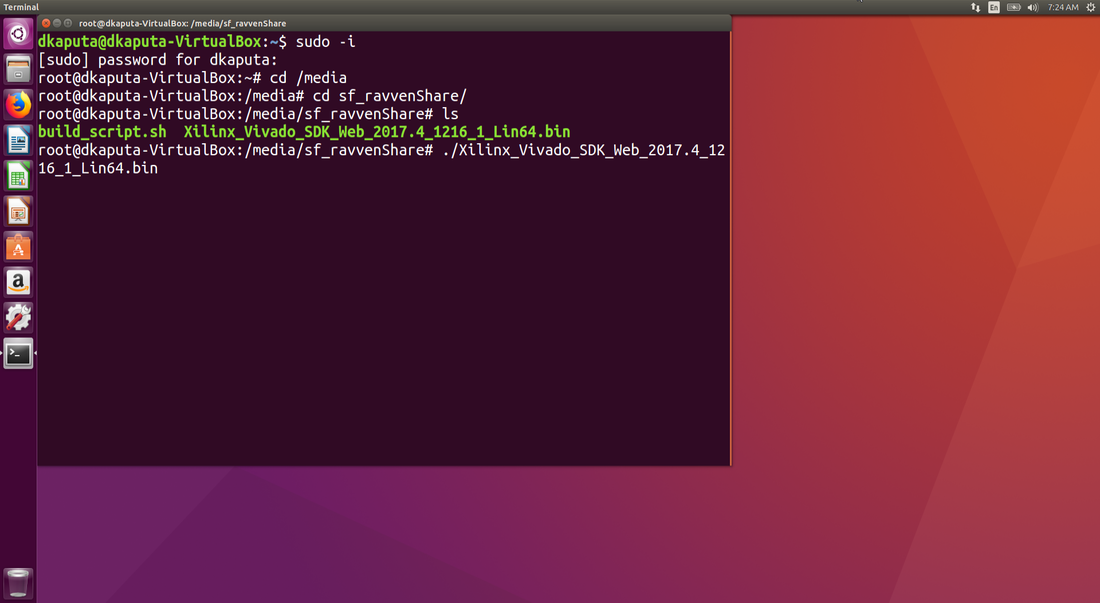
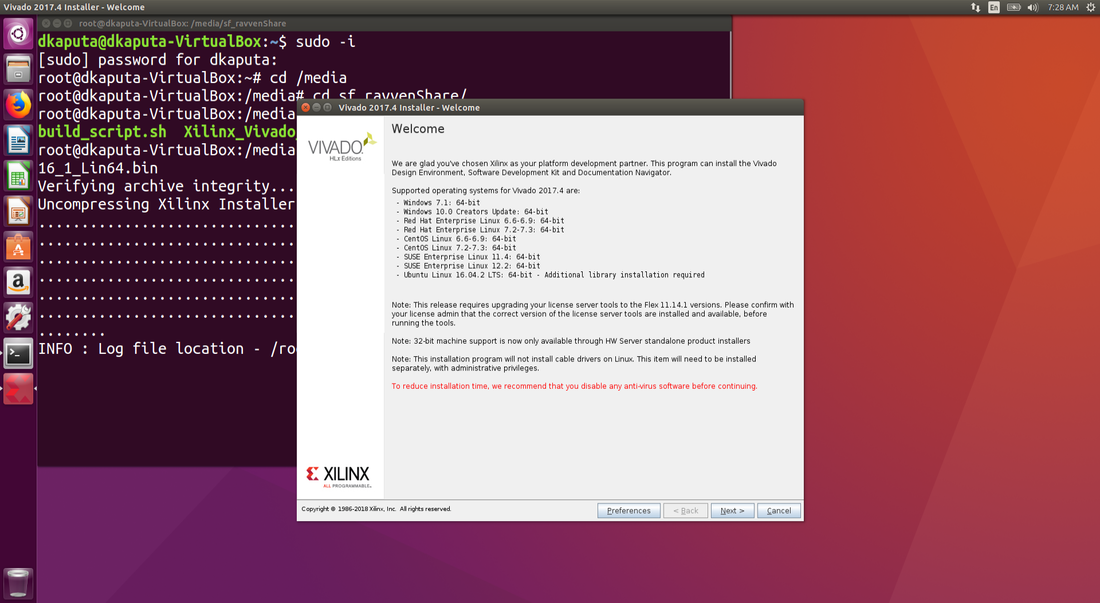
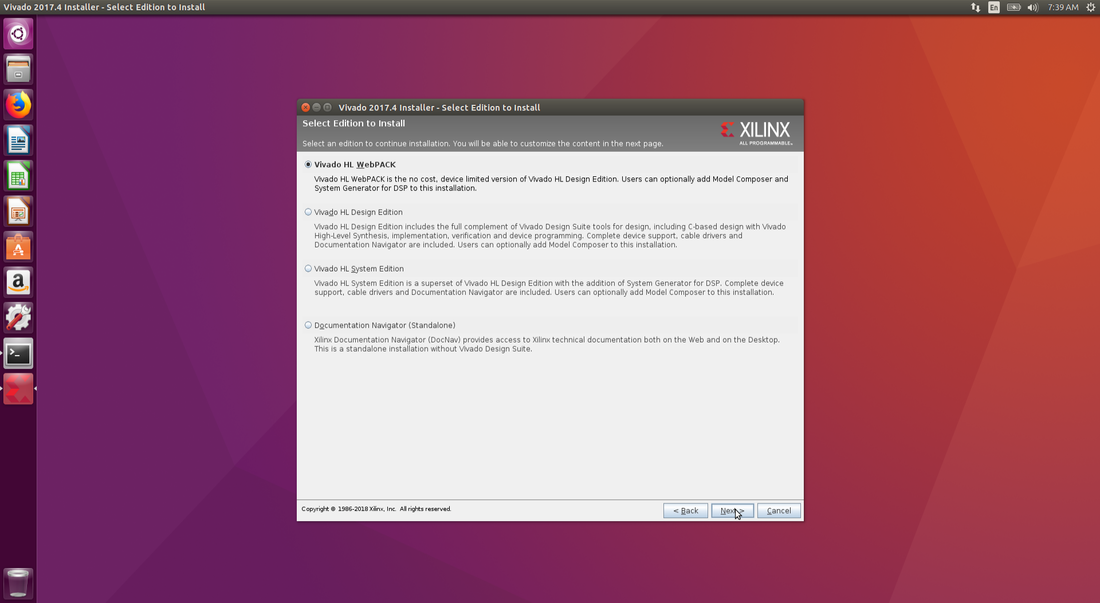
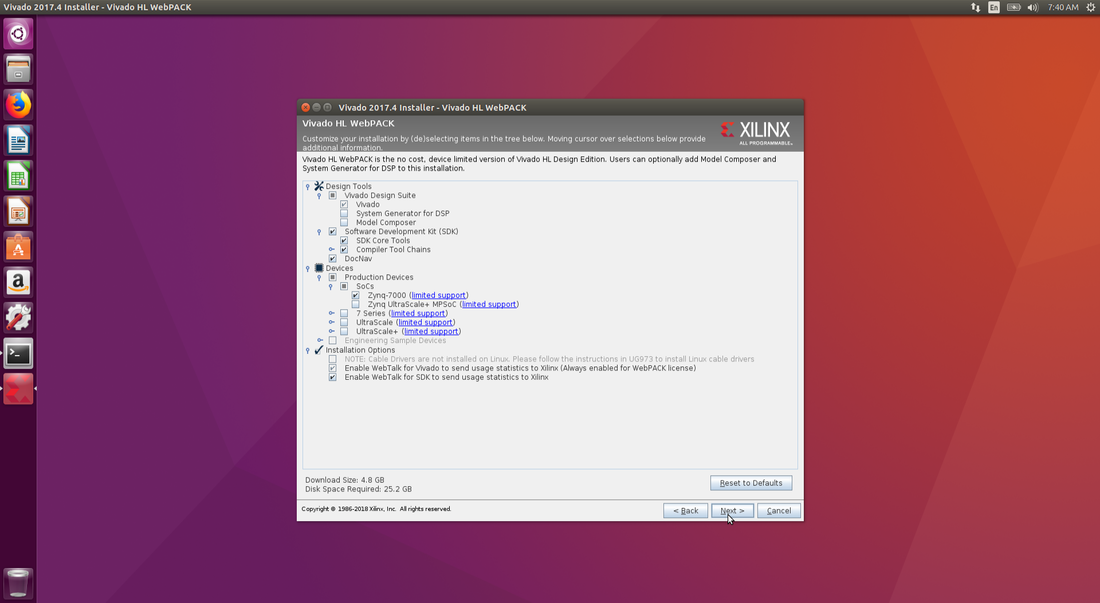
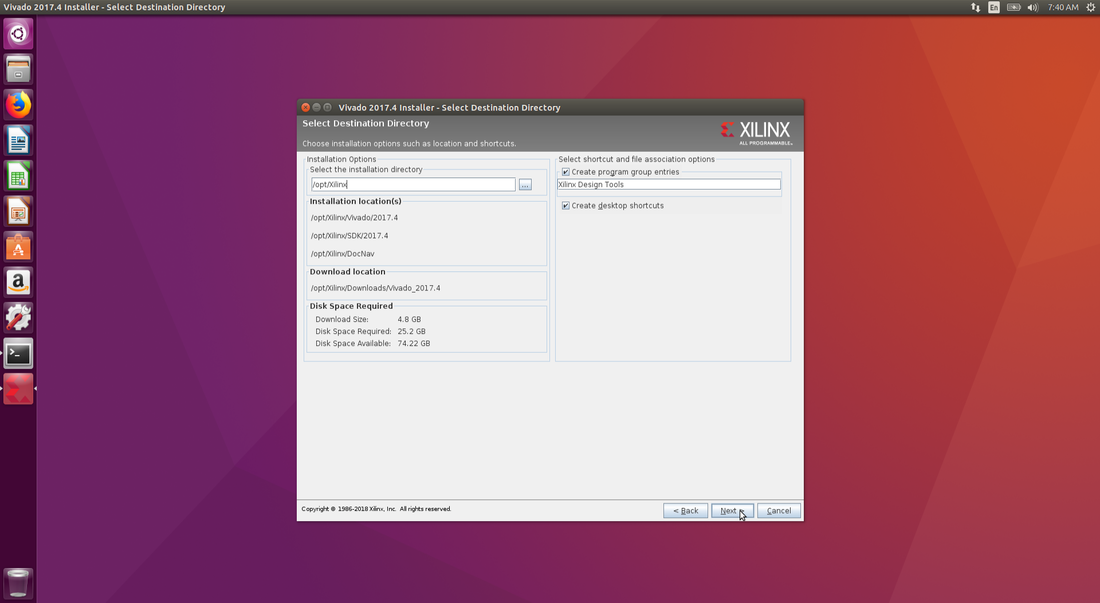
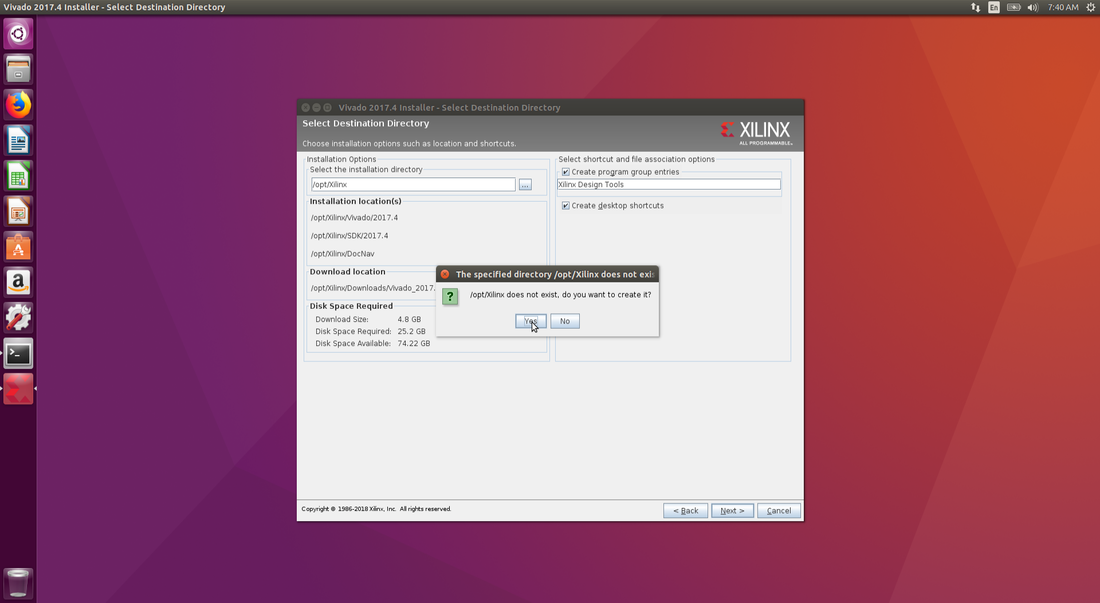
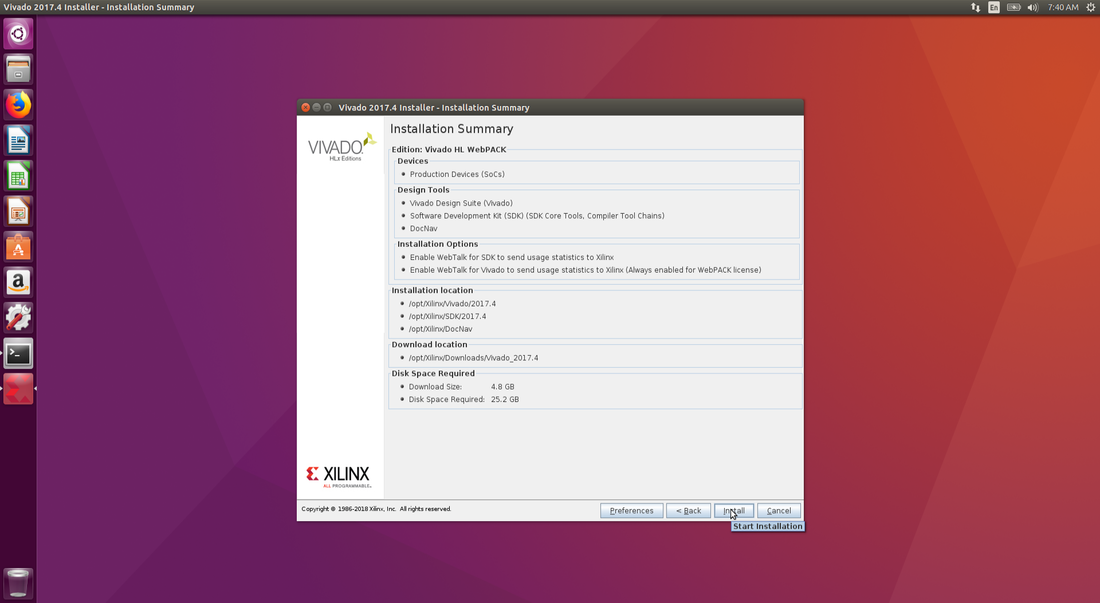
Now that the VM is completely installed, pull down the latest version of the Vivado tool suite which can be found here. If you downloaded it via the host OS like I did, you will need to copy it to the linux shared folder. Then go into the VM and navigate to the share as shown below. Remember that your share name might be different than mine. To start the installation enter ./Xilinx_Vivado_SDK_Web_2017.4_1216_1_Lin64.bin at the command prompt.
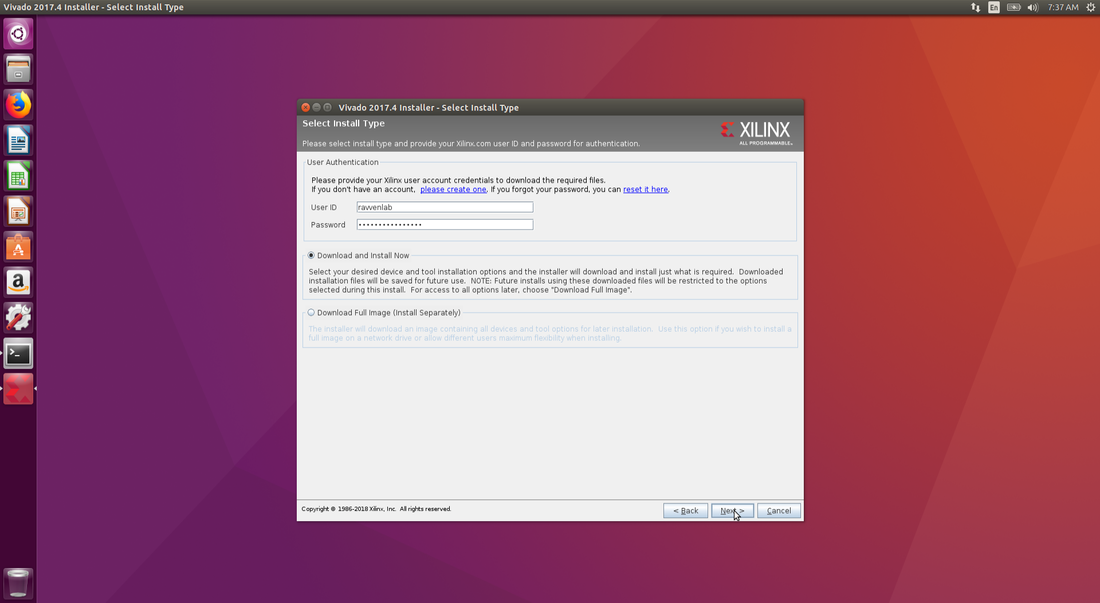
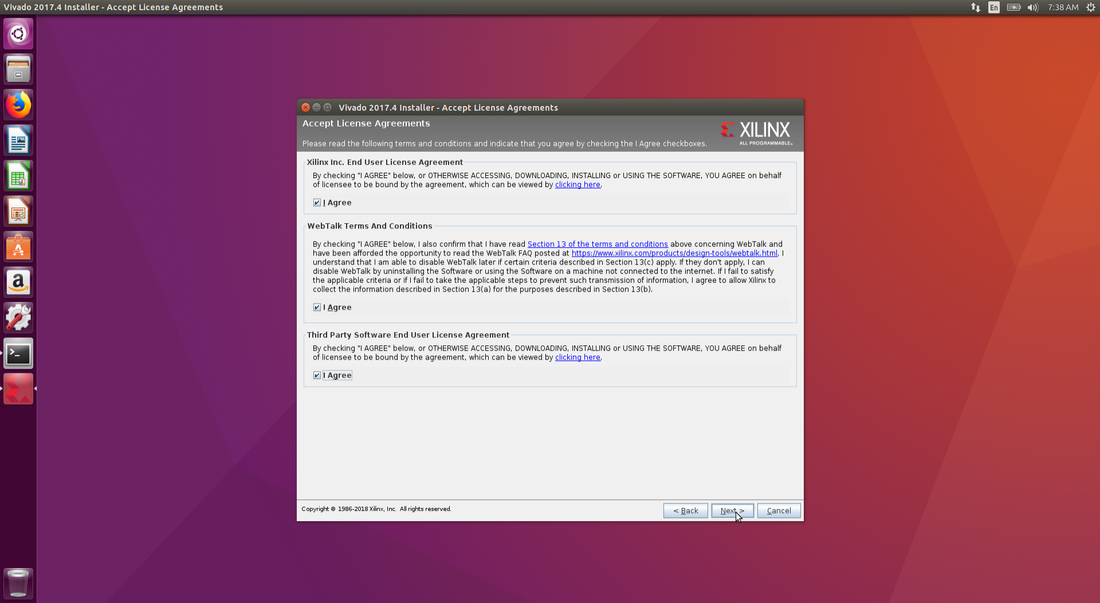
Follow along with the next couple images and you might have to create a new Xilinx account on their website before you can pull down the full installation program.
Note that if you are using Vivado with Simulink you might want to pull down the System Generator for DSP tools.
Congratulations, you just setup your very own Xilinx-enabled virtual box!
0 Comments
Your comment will be posted after it is approved.
Leave a Reply. |
AUGMENTED REALITY - ARTIFICIAL INTELLIGENCE - VIRTUAL REALITY - UNMANNED AERIAL VEHICLE - EMBEDDED VISION

