|
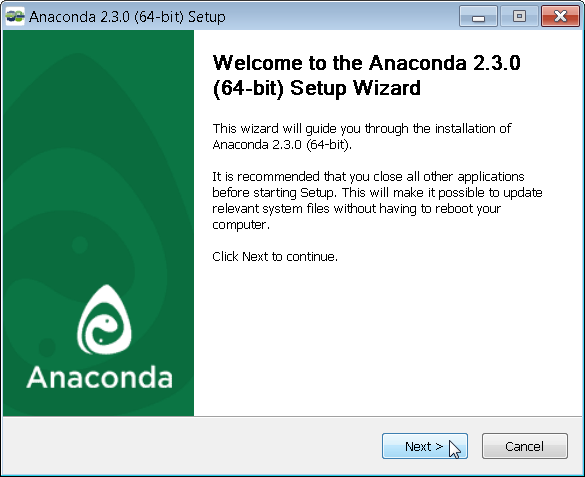
The best way to install python, PyQt and OpenCV is to install Anaconda which contains python and PyQt4 in its site packages folder by default. One must manually install OpenCV which is covered at the end of the tutorial. Make sure to install from this link as the newer Anaconda installations have python 3 and PyQt5 which will not work as well on the embedded side of things. Once you have pulled down Anaconda from the link above click on the file to install it.
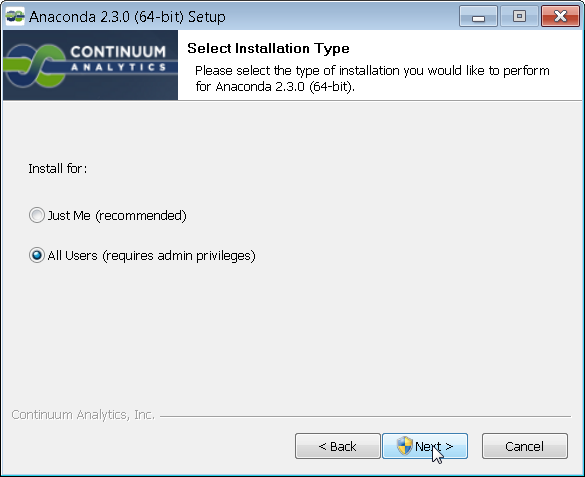
You can select whatever option you like but I typically install everything for all users.
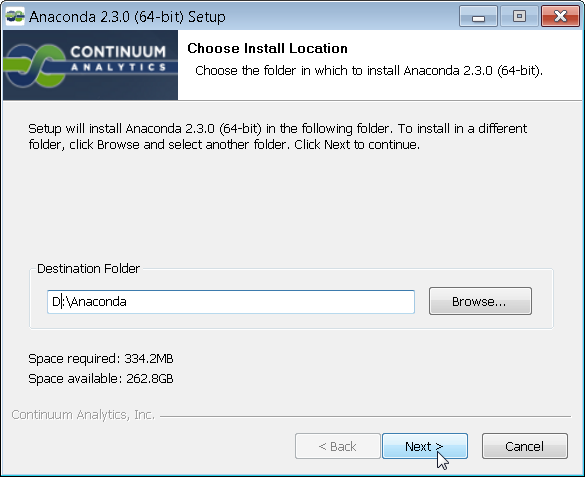
The default is C:\ however I have more space on D:\ so that is where I installed my Anaconda.
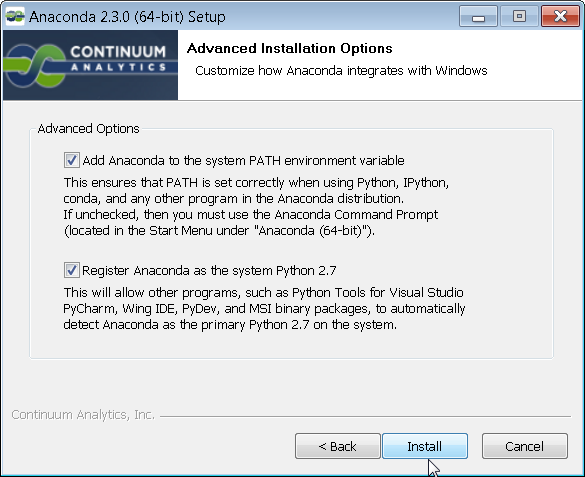
You want to make sure that the system recognizes the Anaconda python as the main python for the system in order to run code from the command prompt.
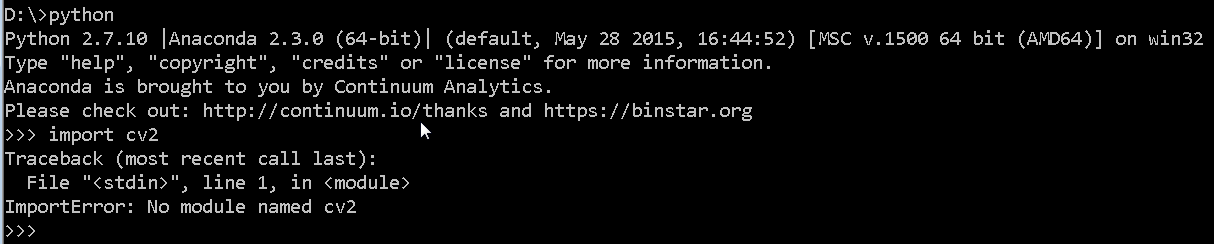
When the installation is finished you can navigate to the command prompt and type python to verify that indeed the Anaconda python is that version that comes up. If python 2.7 comes up then you have installed Anaconda correctly. Then type import PyQt4 and there should not be any errors. Congratulations, you are ready to use PyQt!

Unfortunately the default installation of Anaconda does not contain OpenCV for some reason which can be evidenced by typing in import cv2 into python as shown below.
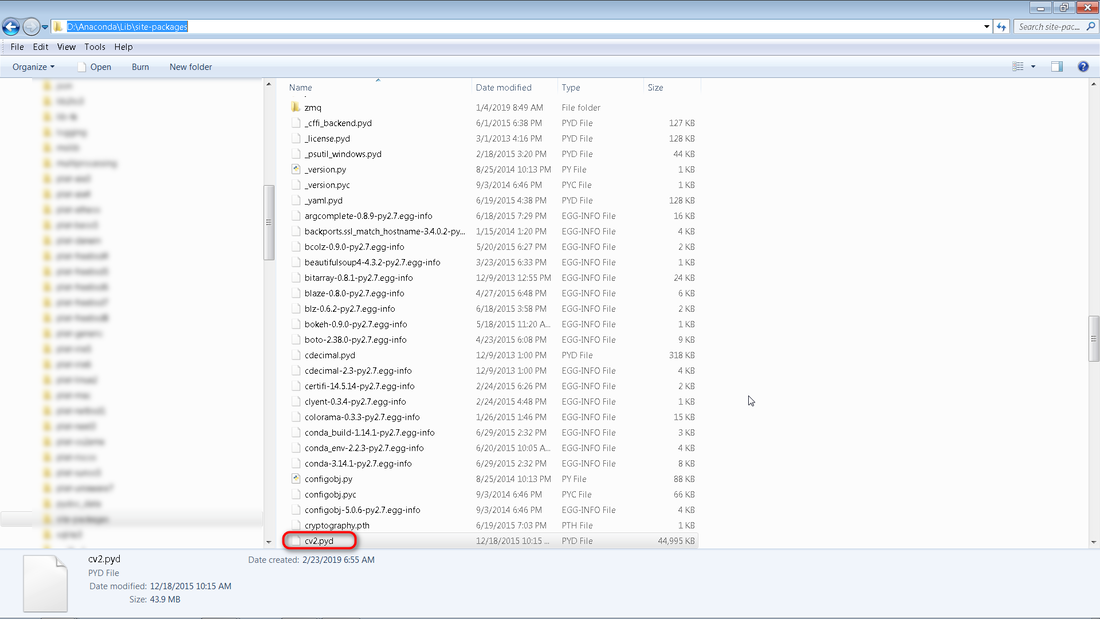
The easiest way to install OpenCV is to copy thiscv2.pyd file into the Anaconda site-packages folder. For me I had to navigate to d:\Anaconda\Lib\site-packages as shown below.
Once you have copied over the cv2.pyd file, open up a new terminal window, type python and then retry import cv2. Hopefully it returns without an error. Congratulations, you are ready to use OpenCV!


0 Comments
Your comment will be posted after it is approved.
Leave a Reply. |
