|
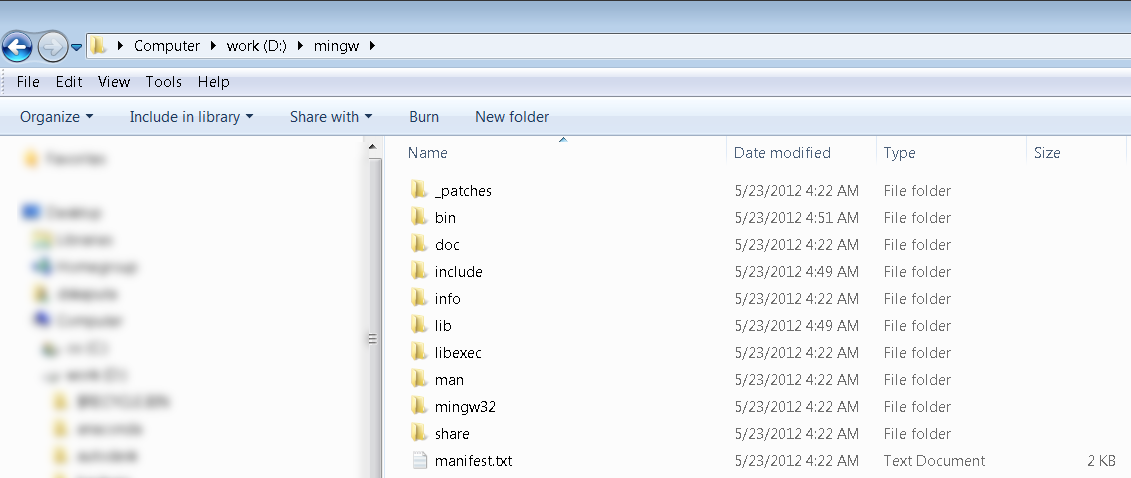
QT is a very powerful cross-platform graphics environment that can be run on both the PC as well as an embedded ARM system. This tutorial will walk you through installing QT as well as the MinGW compiler for windows. You will first need to download MinGW, Qt4, and Qt Creator. Once you have downloaded these files, unzip MinGW-gcc-4.4.0-2.7z to a folder such as D:\MinGW-gcc-4.4.0-2. You should see a folder structure like the one below.
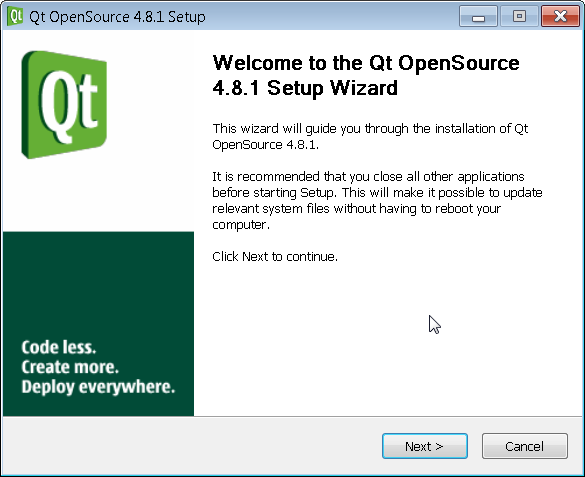
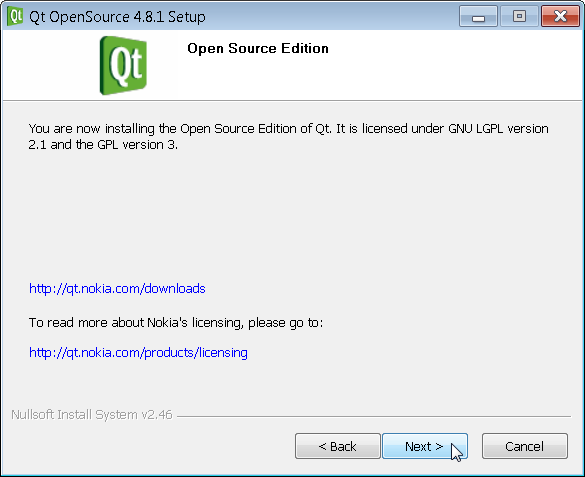
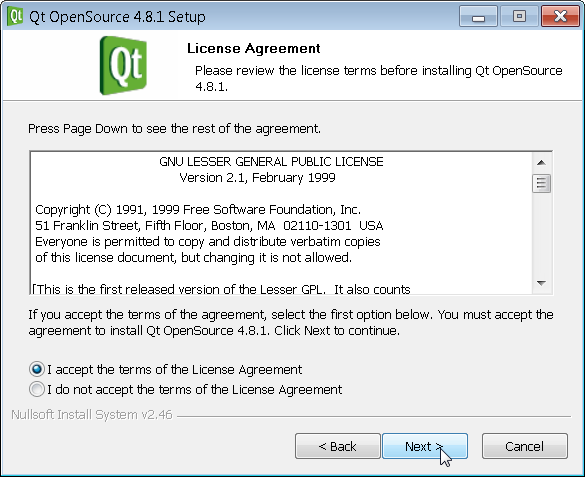
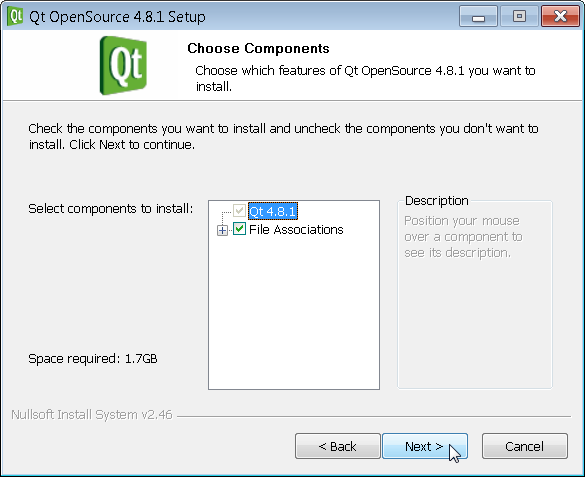
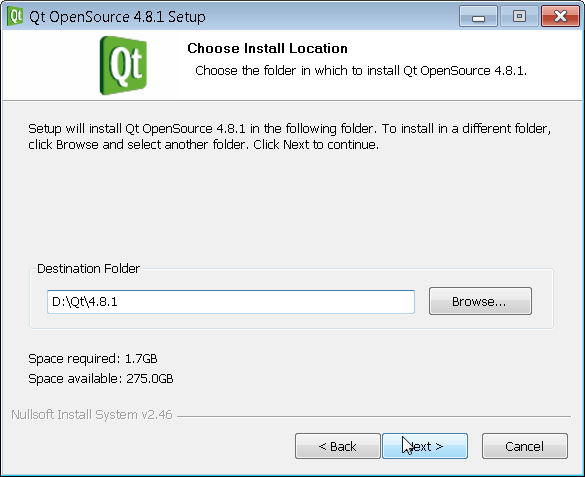
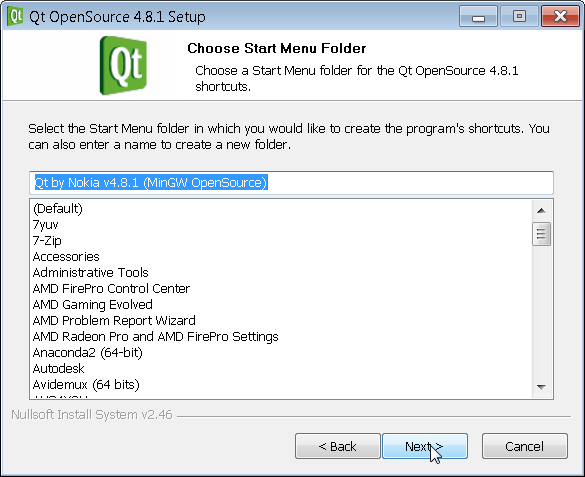
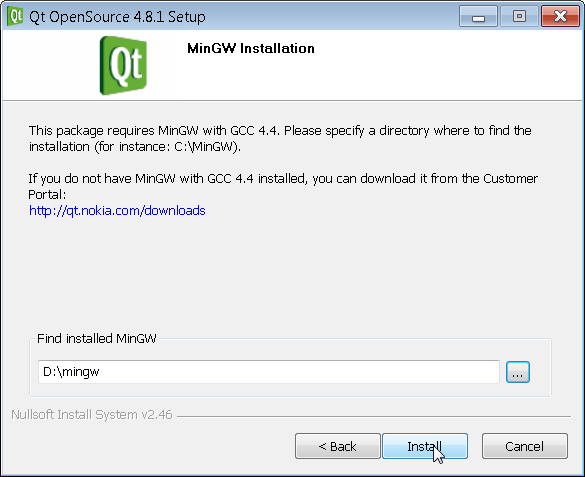
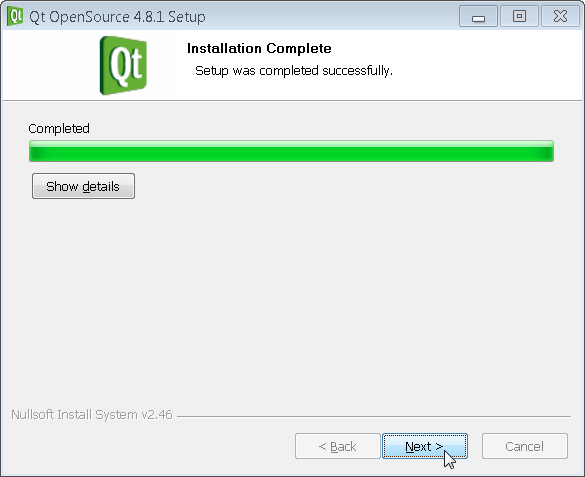
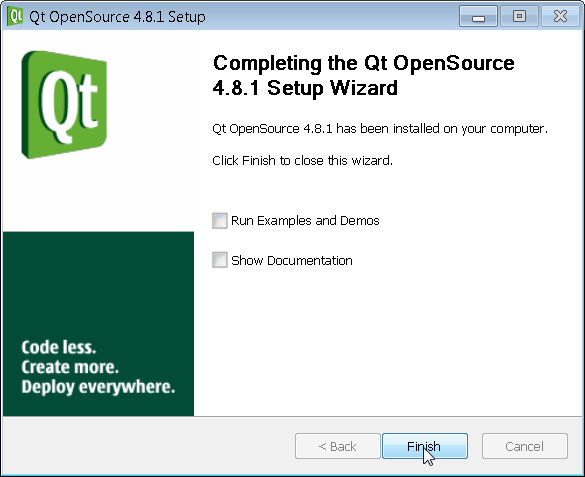
Then click on qt-win-opensource-4.8.1-mingw.exe to install QT. You can walk through the install screens as shown below.
The default is C:\ however I installed on D:\ as I had more space there. You can choose to install QT wherever you like but you need to remember this location for when we add it to the system path variable later.
Make sure to put in the path where you previously installed MinGW from above.
De-select both check boxes and click on finish. If you leave these boxes selected I believe the examples will crash for some reason.
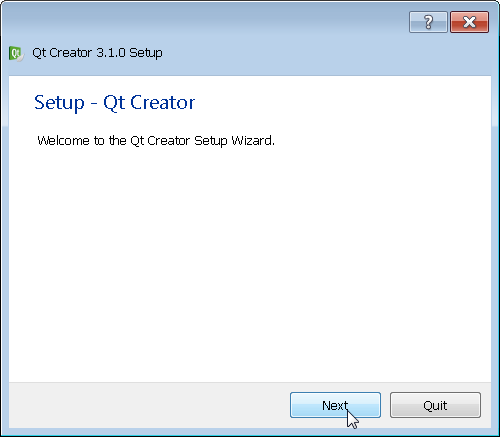
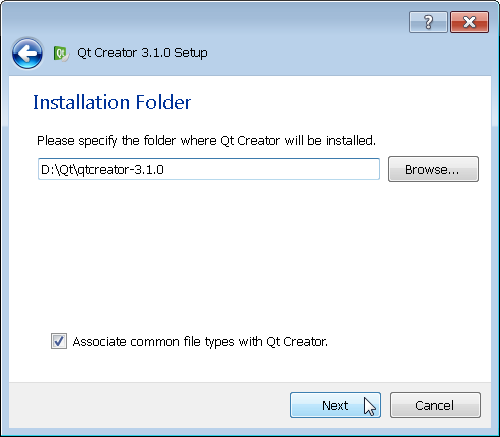
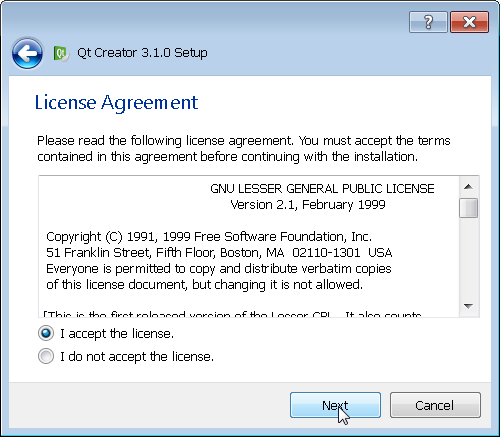
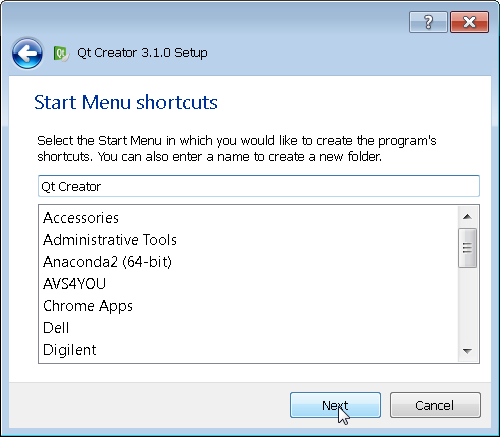
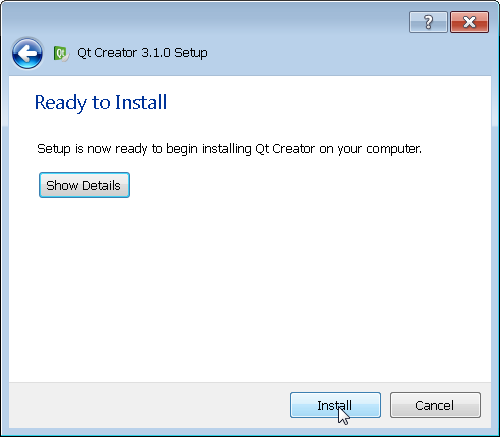
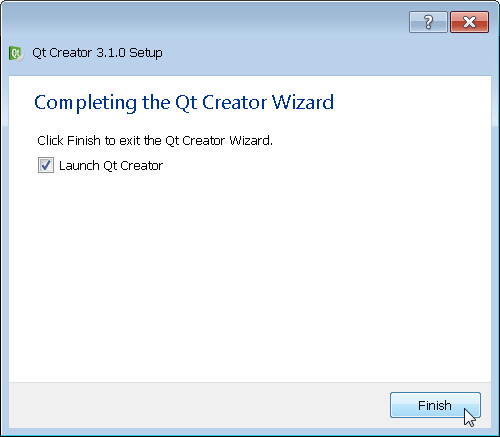
Next you should click on qt-creator-opensource-windows-x86-3.1.0.exe to install QT Creator
As before the default is C:\ however I chose to install it on D:\
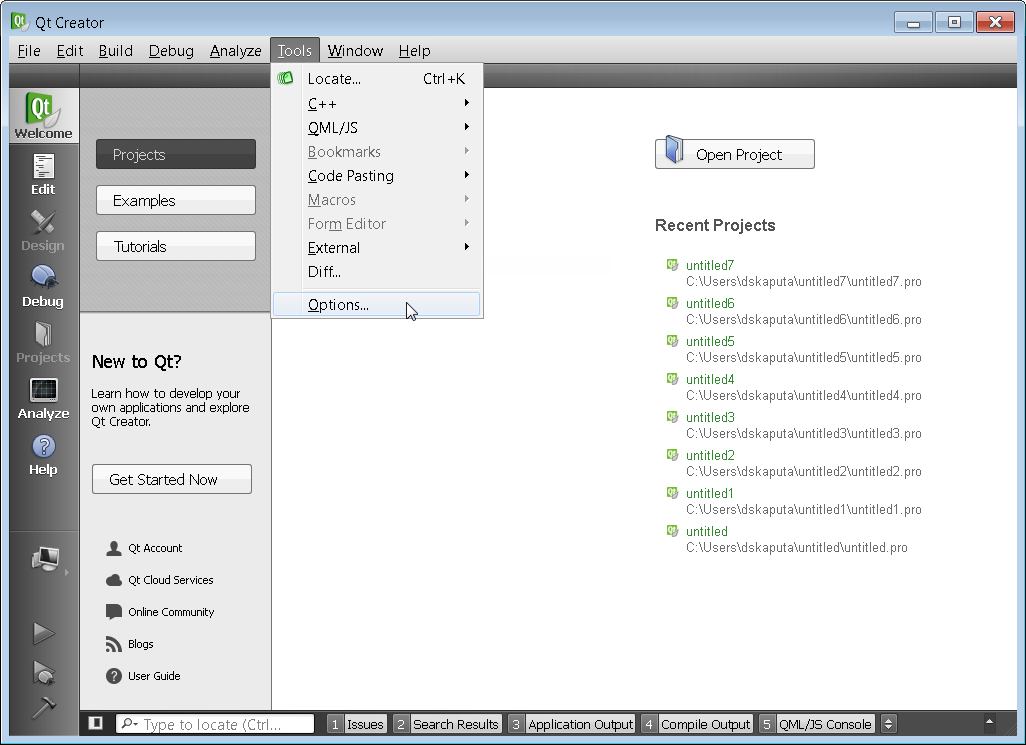
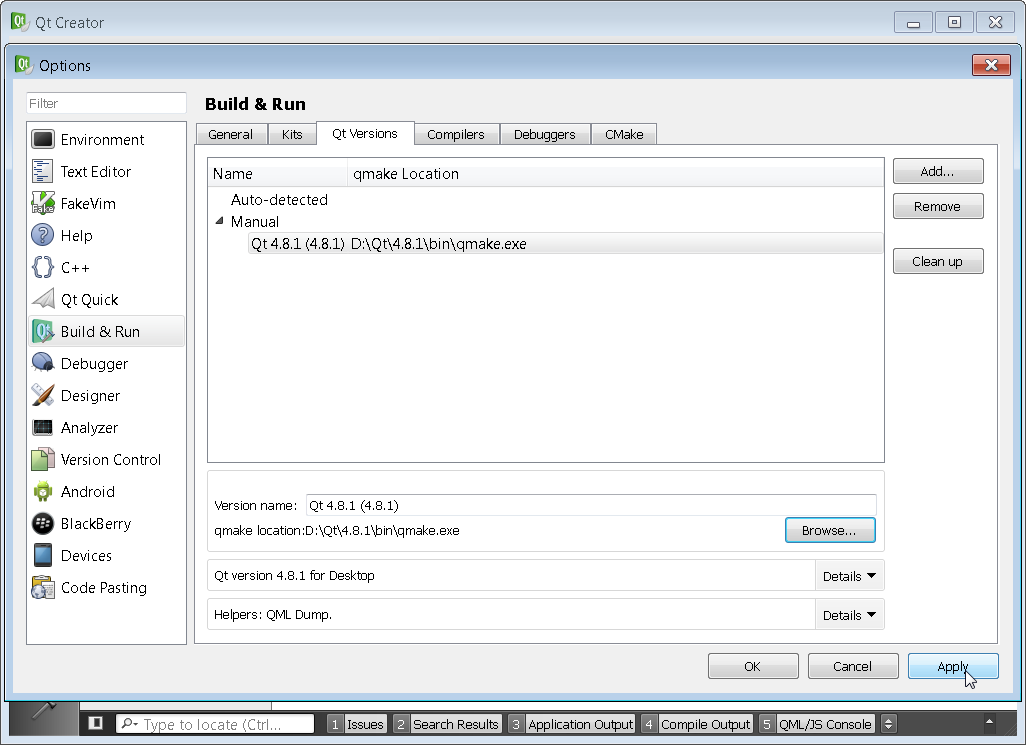
Once QT Creator is installed, the first step is to setup the compiler tool chains. This can be done via the Options menu.
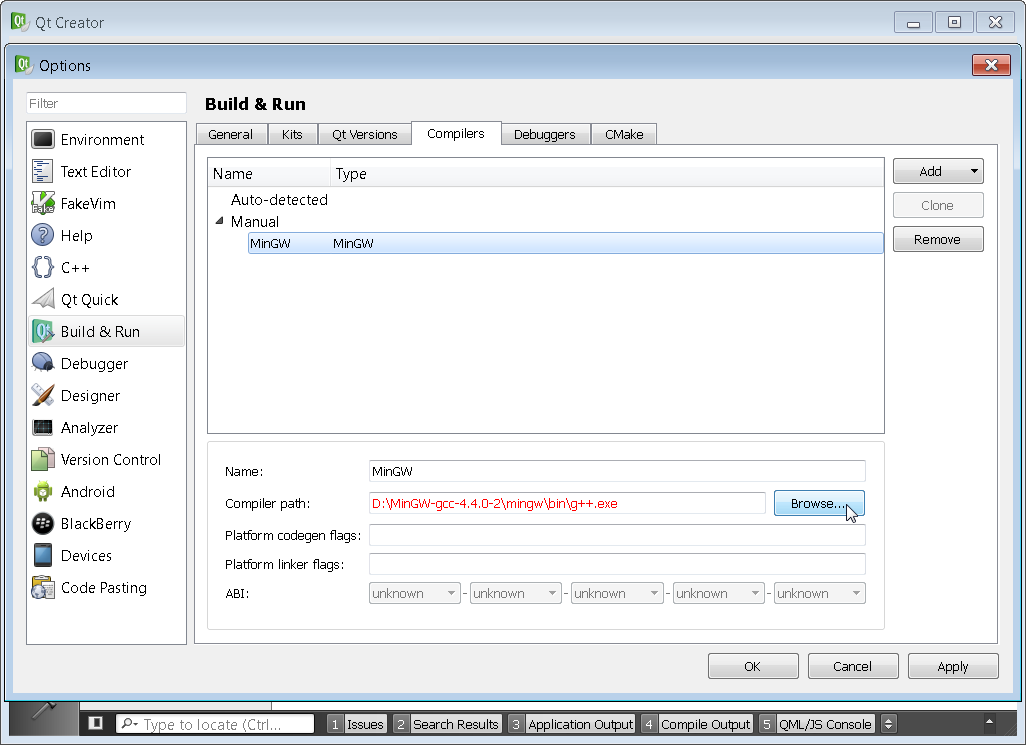
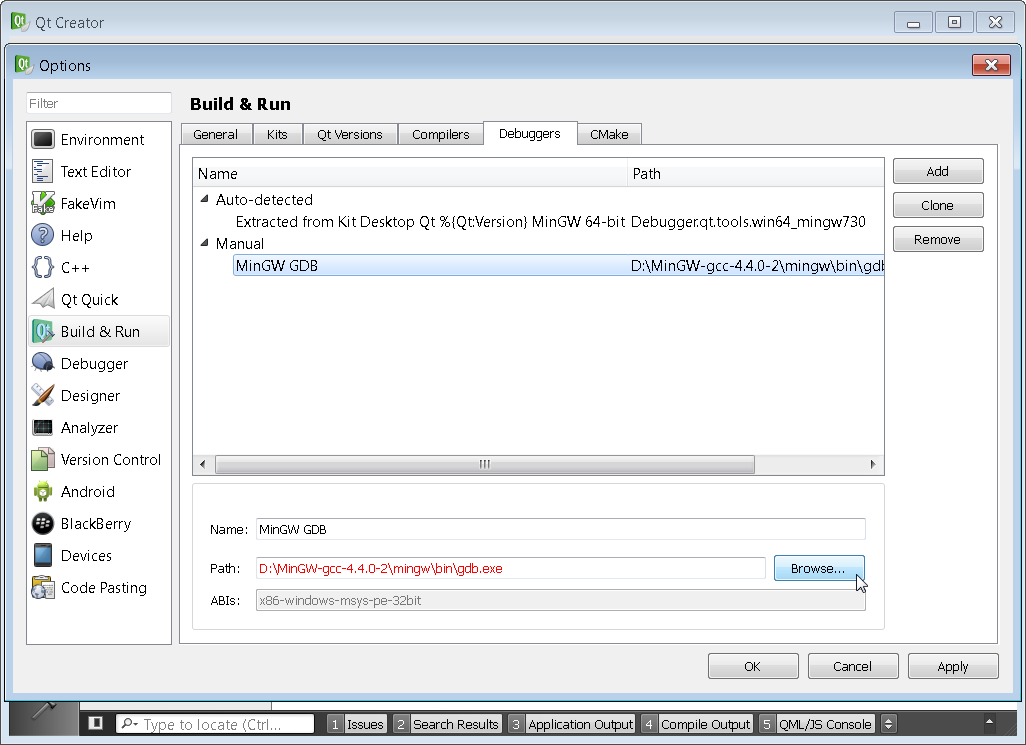
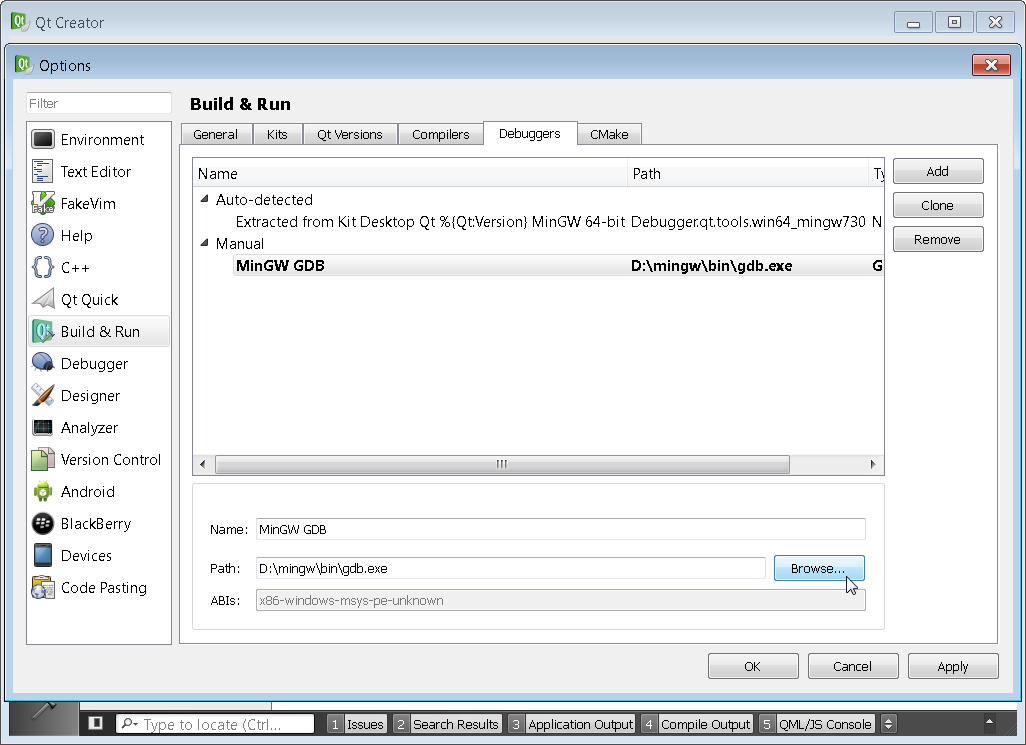
You will need to make sure that all four sections Kits, Qt Versions, Compilers, and Debuggers are configured correctly. You need to setup the Kits section last. Simply click on the various tabs browse to the proper path. If there is an error the path will typically highlight in red as shown below. The proper paths will be the location of Qt and MinGW that you had set in the steps above. This step is just telling Qt Creator where you have installed Qt and the associated compiler.
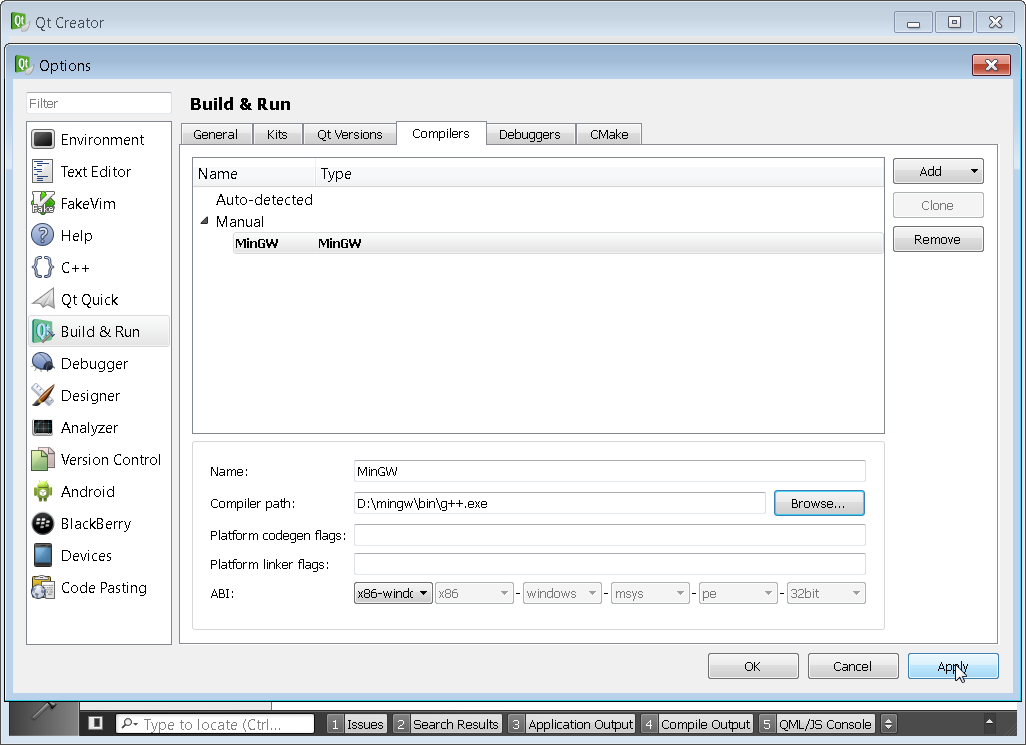
You can see that my compiler location was incorrect and I had to browse to the correct D:\mingw\bin folder for both the Compilers and Debuggers tab. Make sure to point to g++.exe and gdb.exe respectively.
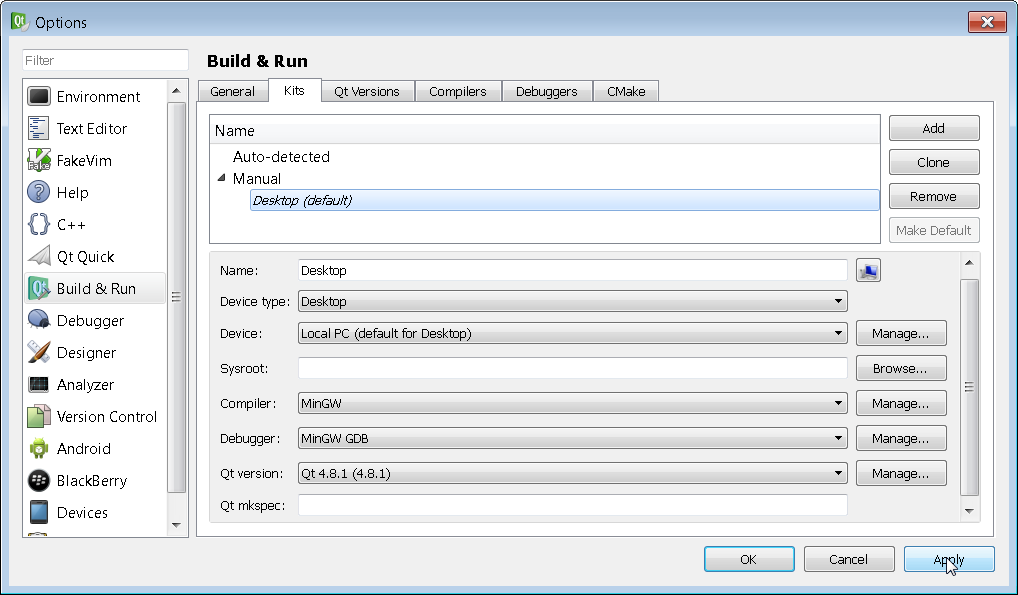
Once all of the tool chains have been setup, navigate to the Kits tab and verify that all of the fields are non-red. Then click on Apply in order to finalize the Kit.
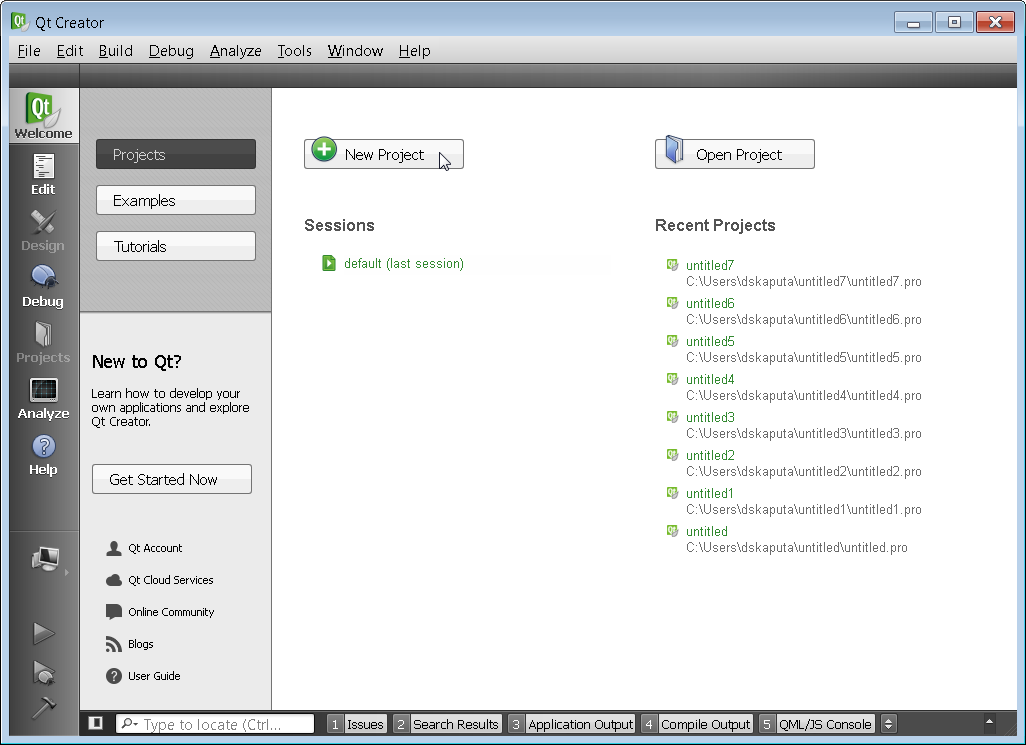
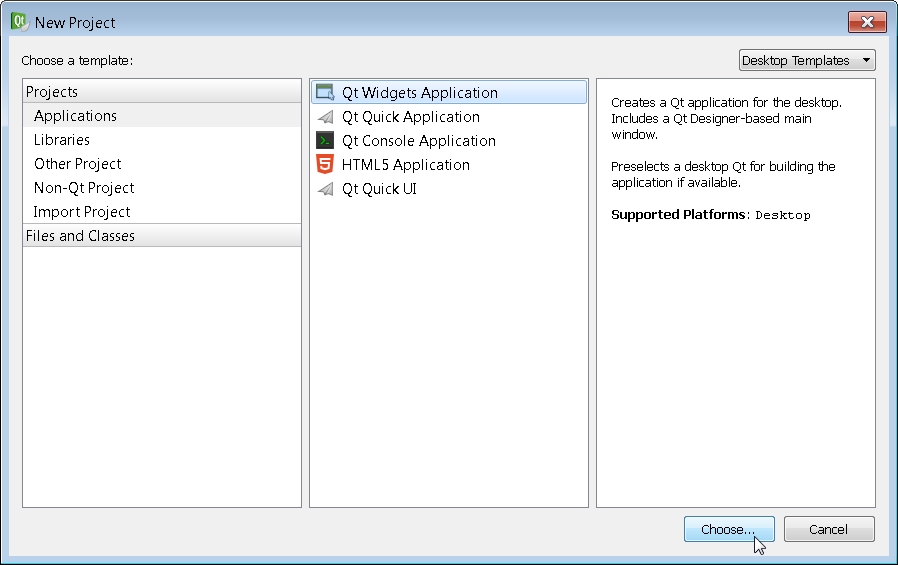
After the kit has been finalized click on New Project.
Select the Qt Widgets Application and click on Choose.
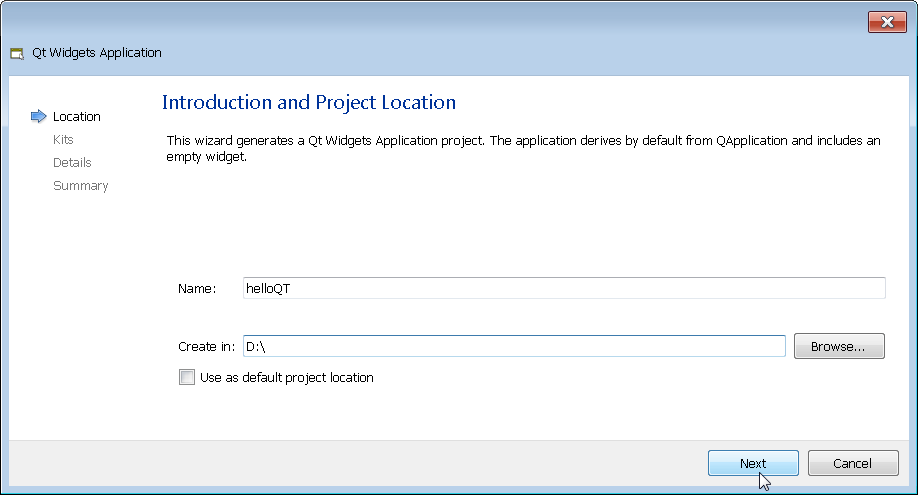
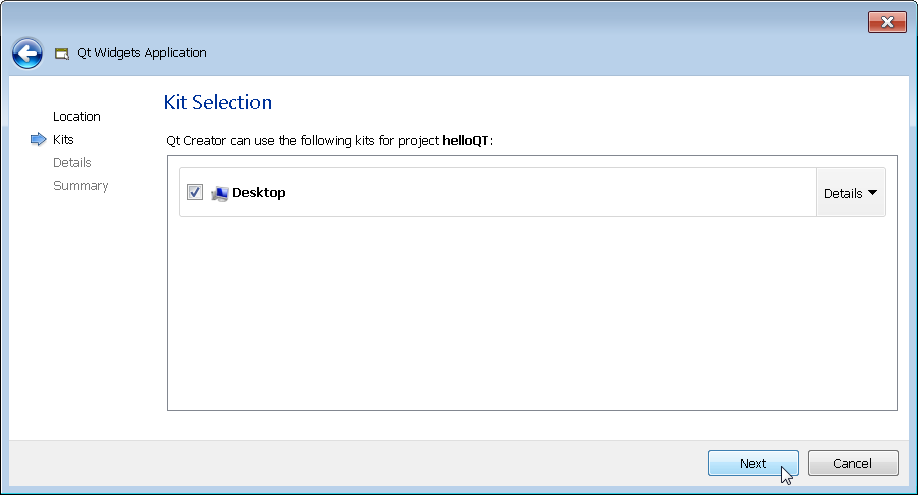
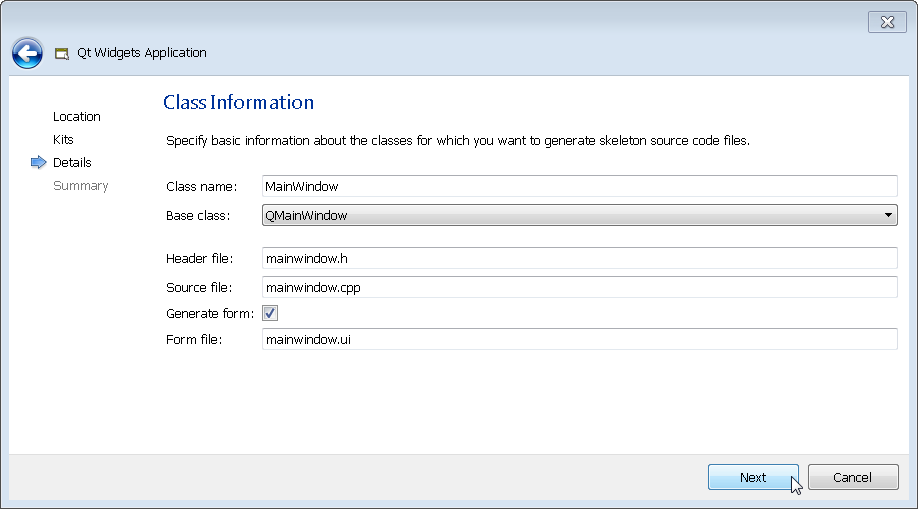
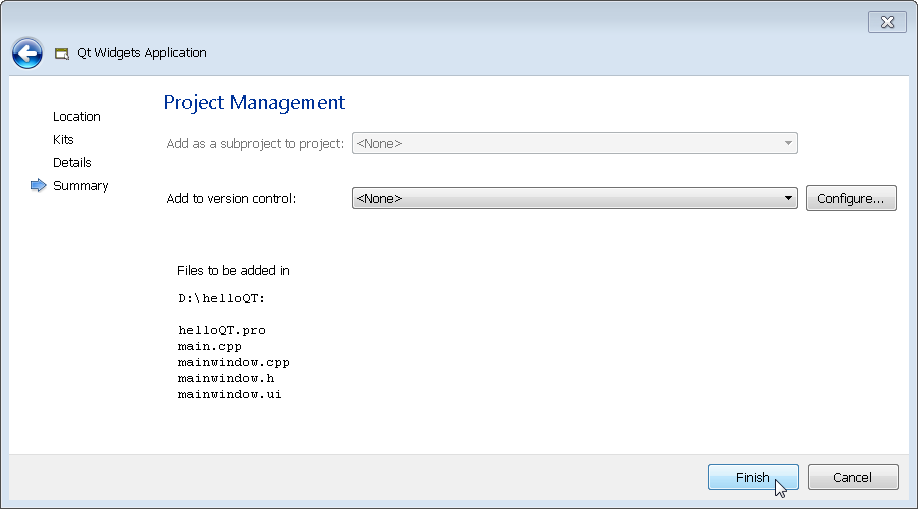
Select a project name and directory and click Next through the next several screens in order to use the defaults. Of course you can configure the project as you see fit but I typically click on Next as fast as possible.
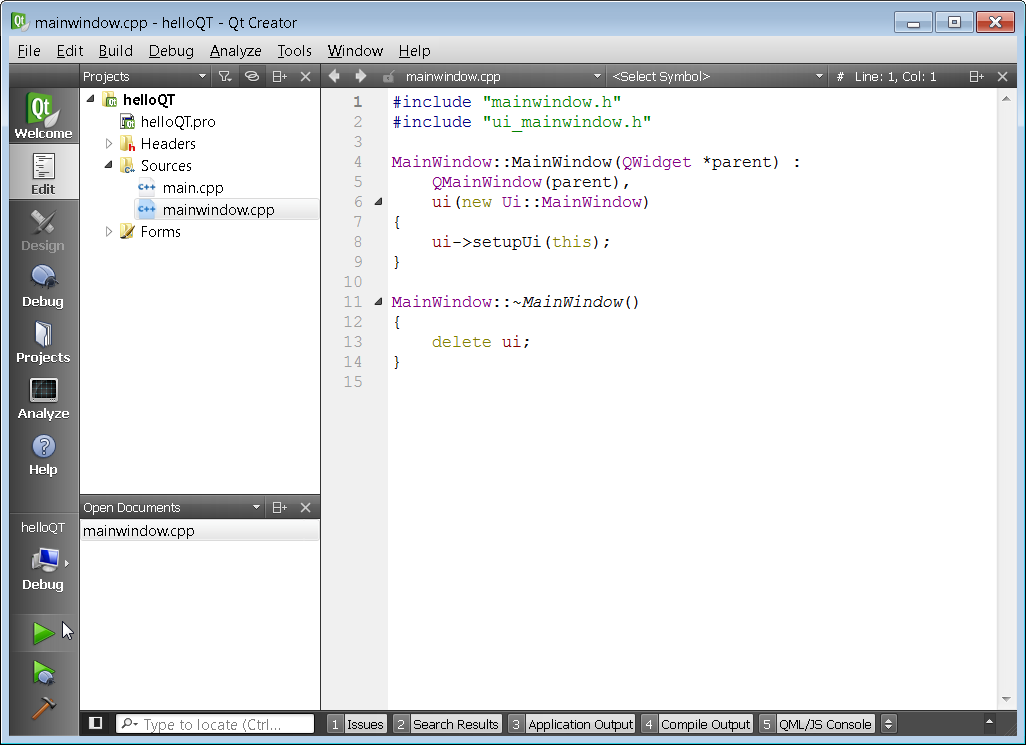
A project will be created an the mainwindow.cpp file will automatically open up. Click on the green arrow to the lower left in order to compile the project.
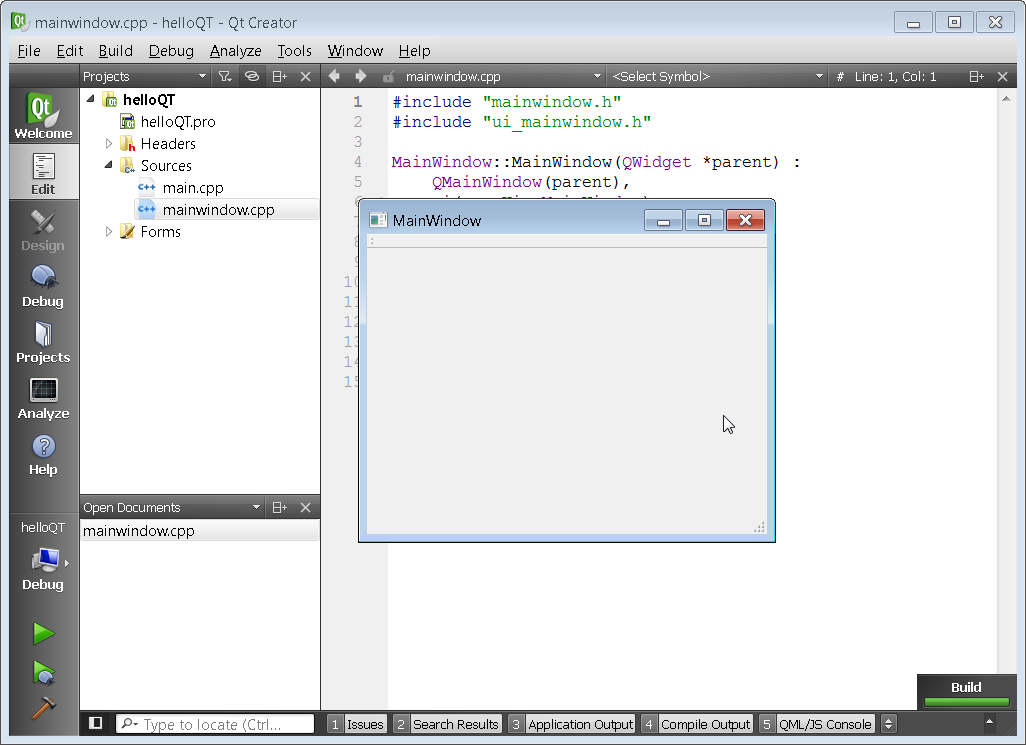
If you have all of the tool chains setup correctly you should see the program compile successfully and the Main Window should pop up.
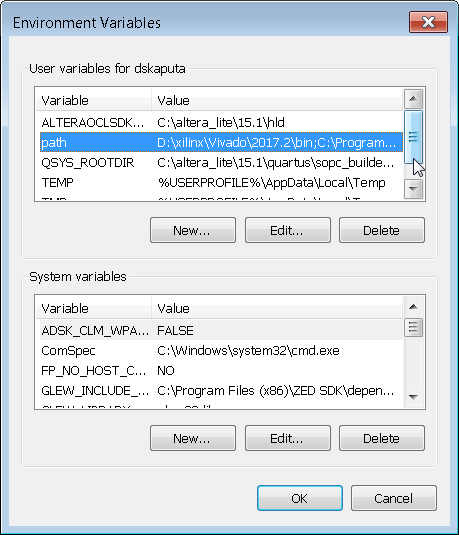
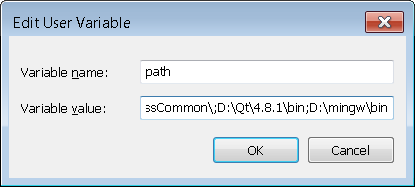
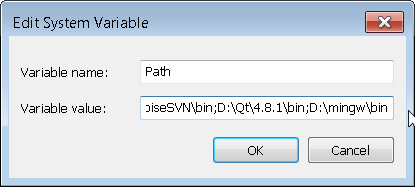
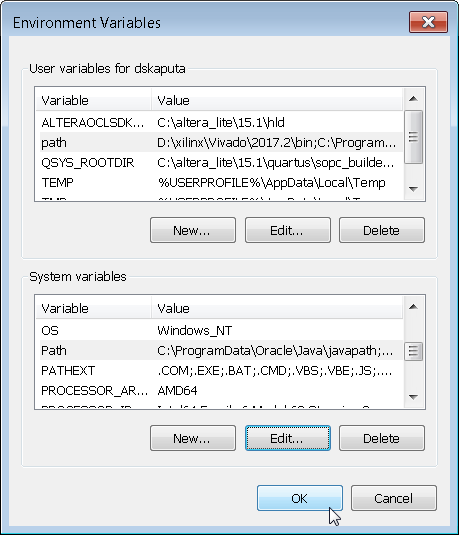
Congratulations on installing MinGW, Qt, and Qt Creator. The last step is to add them to your system path so you can execute programs from the command prompt. If you are unsure how to do this, just google "how to modify environment variable" for your specific operating system. Go into the user and system dialog boxes and edit the path variable by adding the below text to the end of the list.
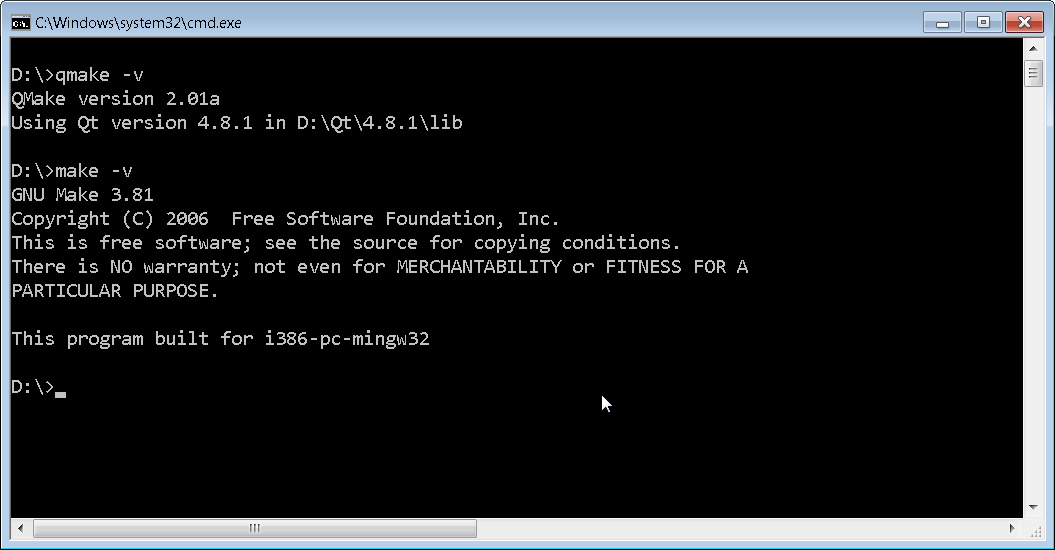
If you have successfully updated your path environment variables then when you open up a command prompt you should see the below results when you type qmake -v and make -v. Make sure that you open up a fresh command prompt after you update your environment variables. Congratulations, you are ready to play with Qt!
0 Comments
Your comment will be posted after it is approved.
Leave a Reply. |
AUGMENTED REALITY - ARTIFICIAL INTELLIGENCE - VIRTUAL REALITY - UNMANNED AERIAL VEHICLE - EMBEDDED VISION

