|
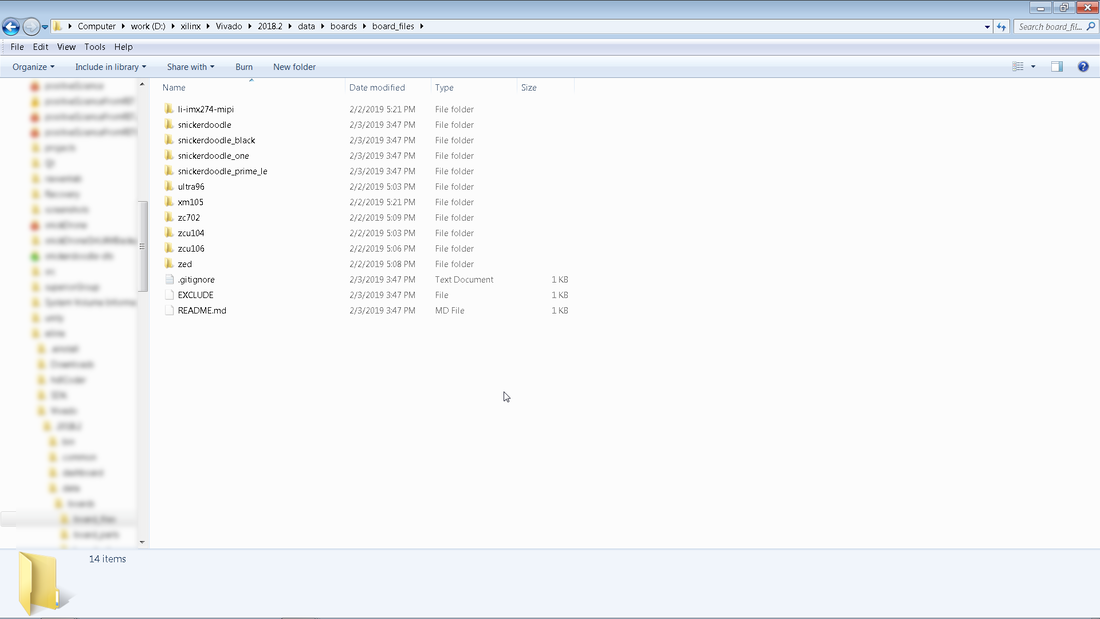
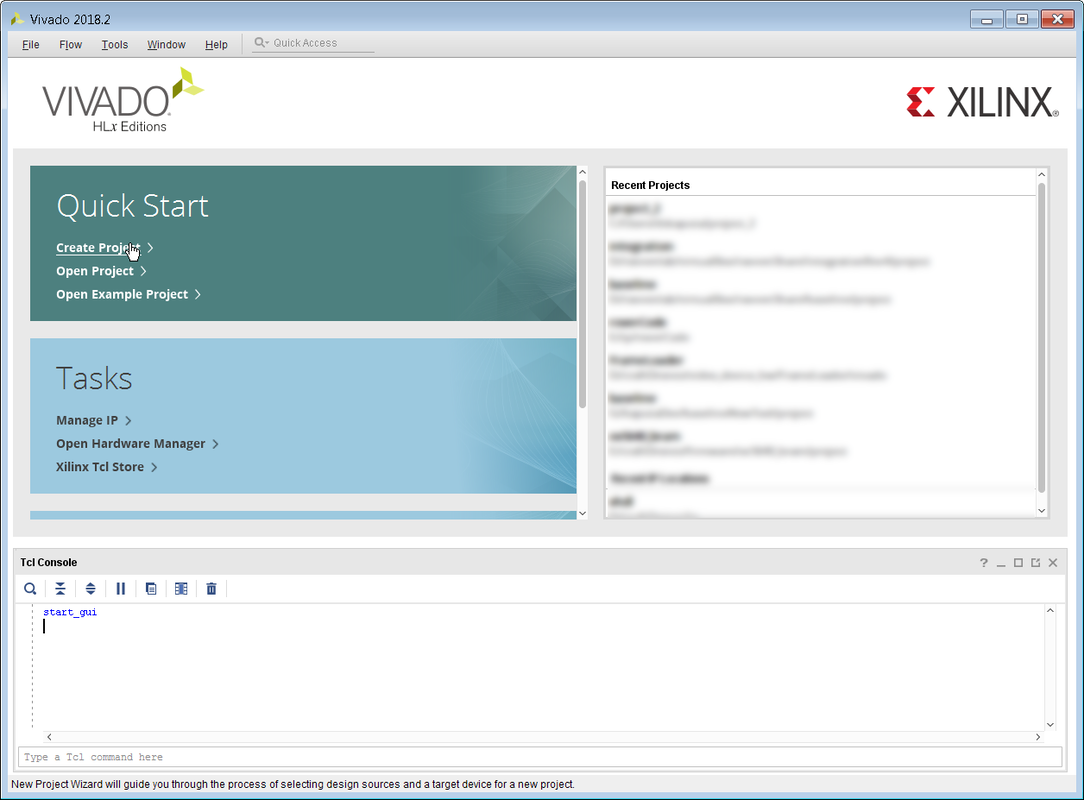
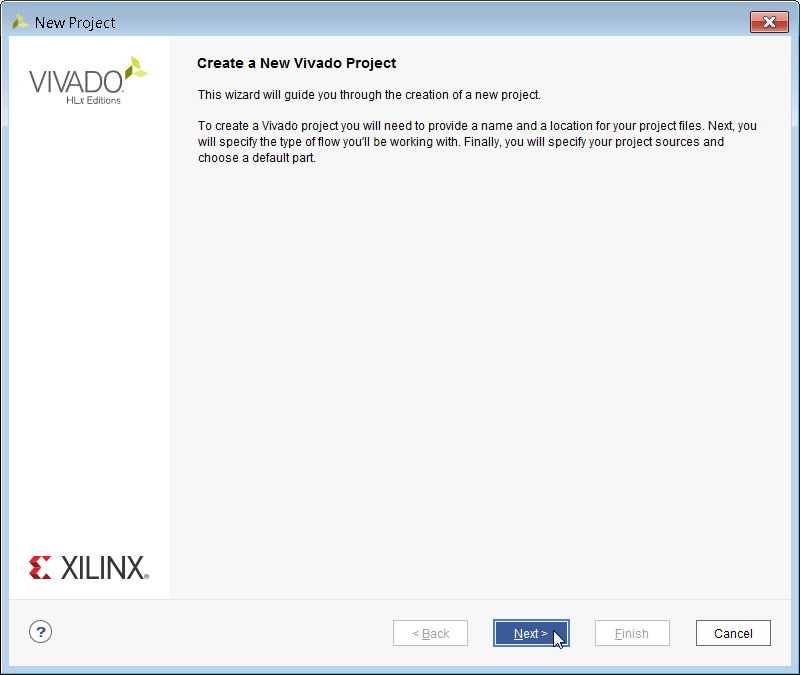
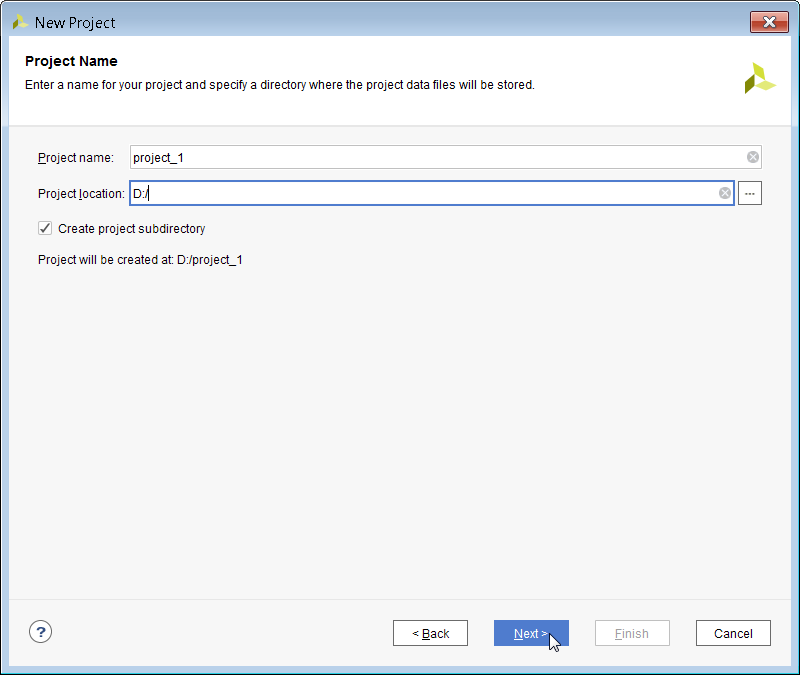
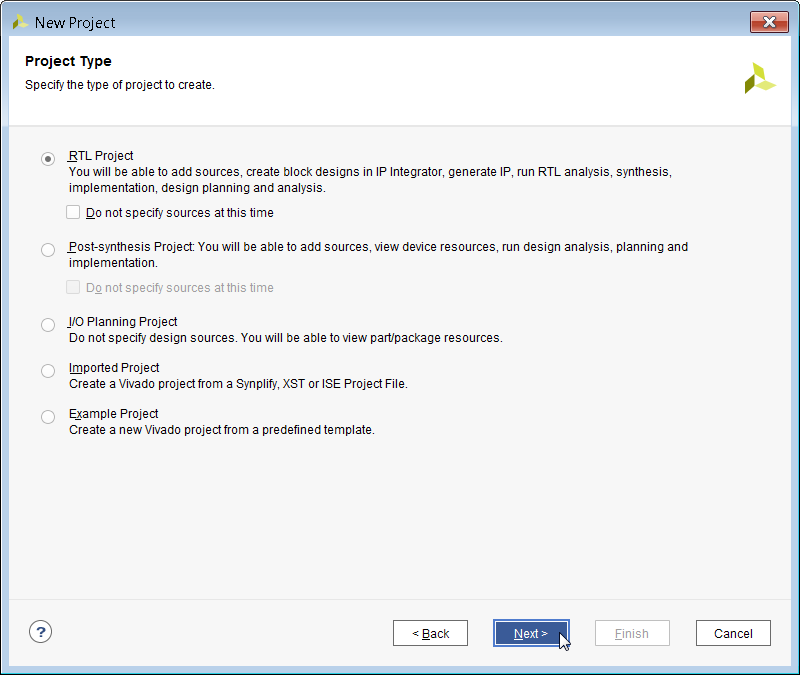
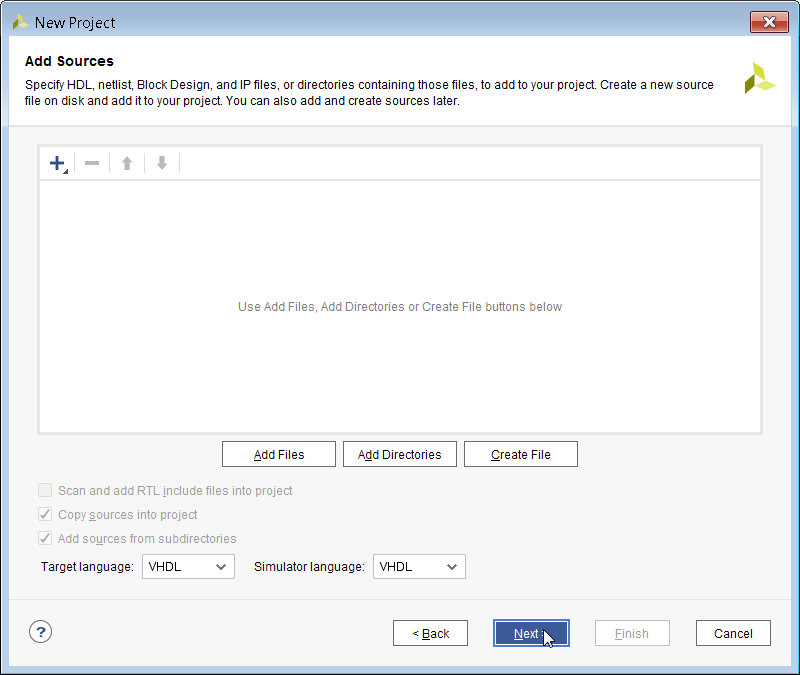
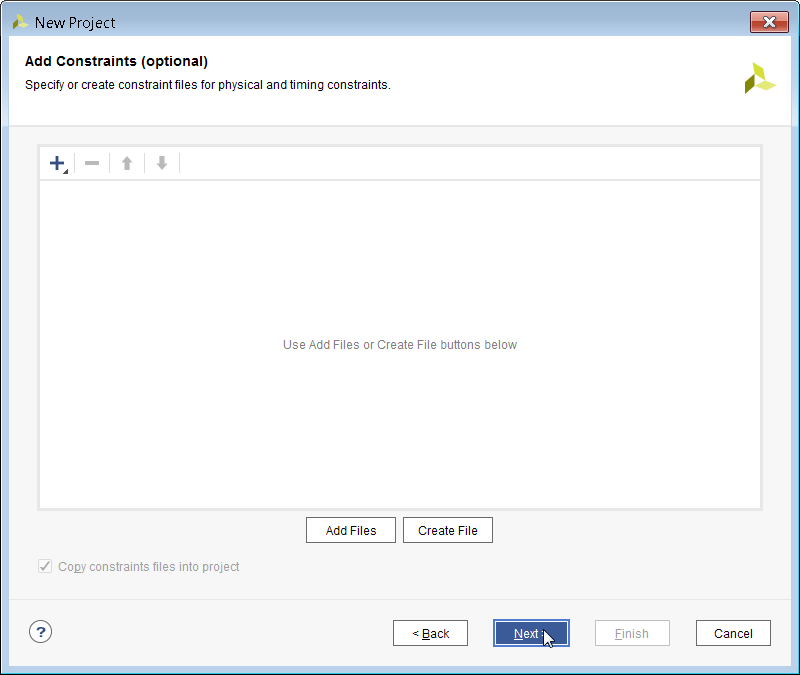
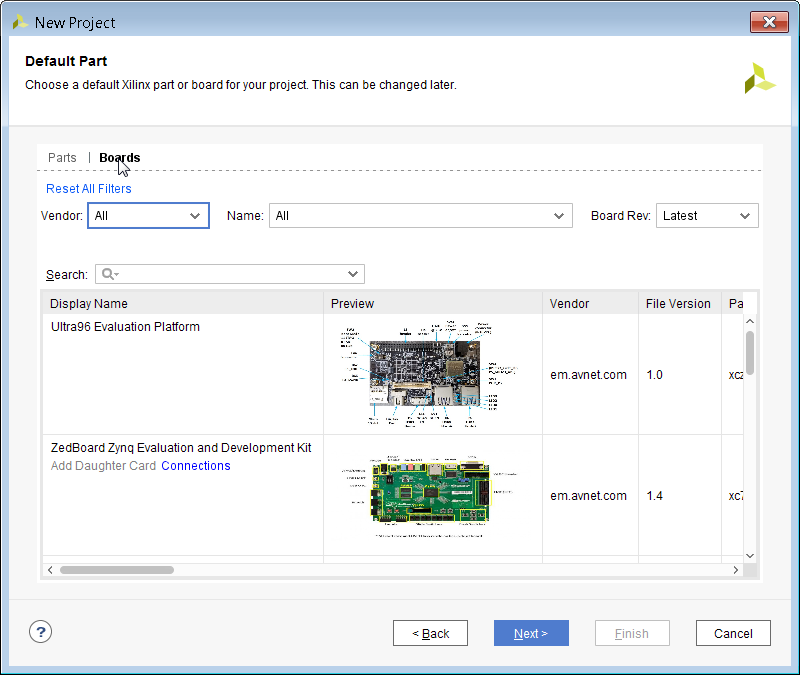
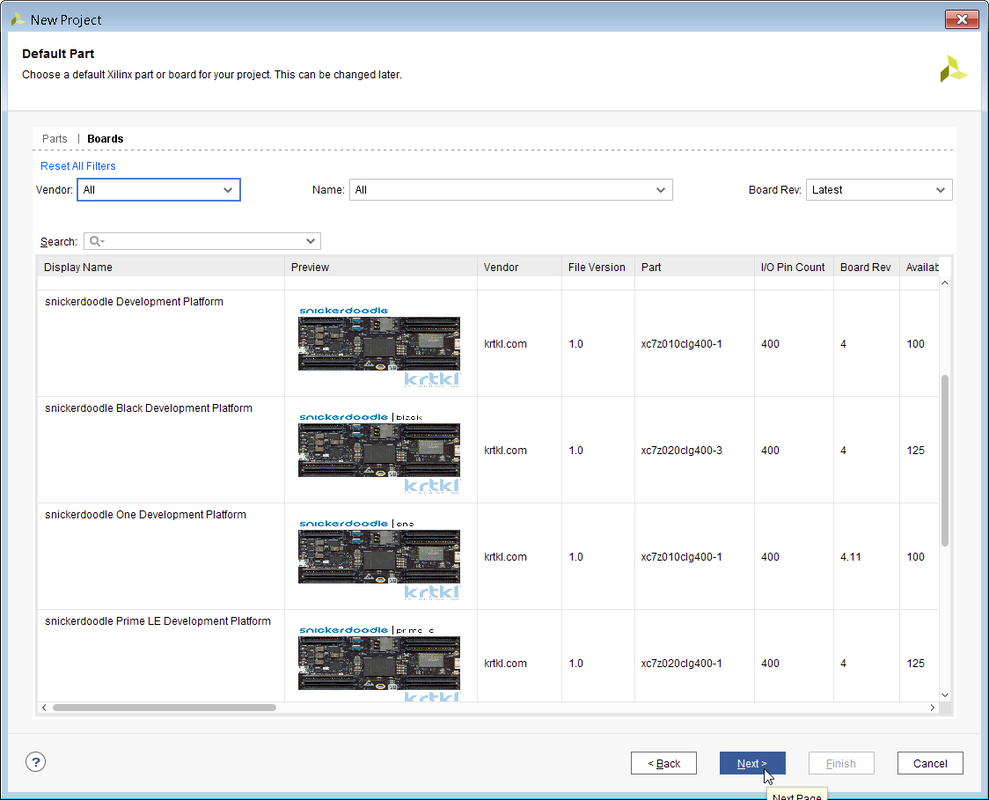
Once you have Vivado installed the next thing you will need to do is install the snickerdoodle board files. These files make it easy to create a snickerdoodle project by loading in several snickerdoode specific defaults. The board files can be downloaded or cloned here. After pulling down the files, they need to be copied into the Vivado board directory. On my computer it was: D:\xilinx\Vivado\2018.2\data\boards\board_files but it depends on where your Vivado installation is located. After placing the board files into the Vivado directory, start up Vivado and you should see the below screen. Click on Create Project and then click on Next. This project is just a test to see if the snickerdoodle board files are recognized by Vivado, so don't worry too much about the project location. After entering the path for the project, hit Next through the next couple of windows. Once you arrive at the Default Part windows, click on the Boards icon in the top left and you should see the various snickerdoodle development boards show up after you scroll down a bit. Congratulations! You are ready to create your first blink project.
0 Comments
Your comment will be posted after it is approved.
Leave a Reply. |
AUGMENTED REALITY - ARTIFICIAL INTELLIGENCE - VIRTUAL REALITY - UNMANNED AERIAL VEHICLE - EMBEDDED VISION

