|
The first thing you must do in order to setup your Snickerdoodle SD card is to pull down a disk imager utility such as win32 Disk Imager. The next step is to pull down the Snickerdoodle Ubuntu 16.04 SD Card Image from here. Once you unzip the image then copy it onto a blank SD card by use of the win32 Disk Imager by selecting the .img file and clicking "Write. 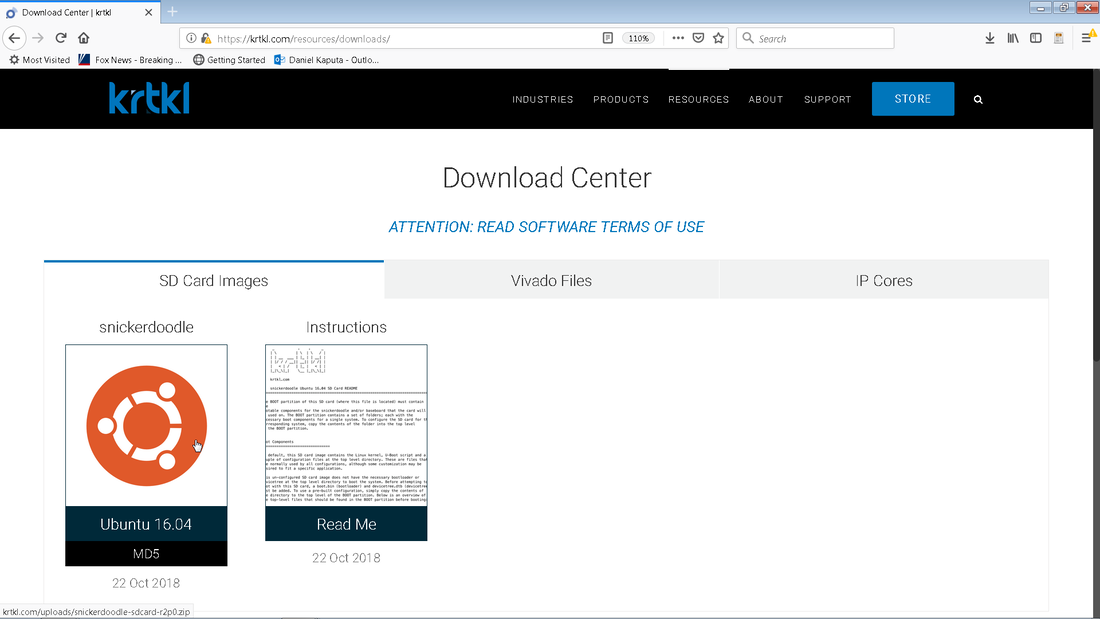 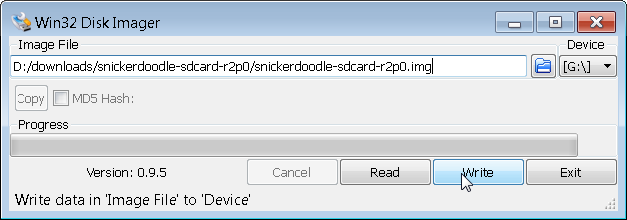 Once the image is finished writing you should be able to browse to the boot sector of the SD card via windows explorer and see the below files. Explaining what all of these files are is beyond the scope of this tutorial.  There are two steps however that need to be taken in order to boot with your specified FPGA .bit file.
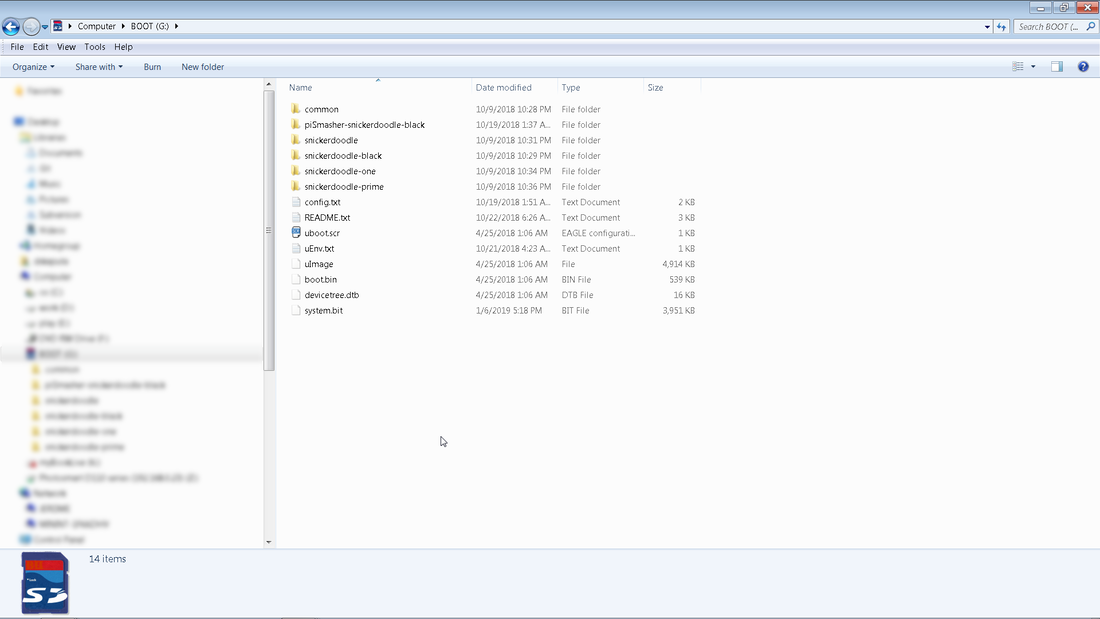 It is ok if you don't have a system.bit yet as that is only need to program the FPGA portion of the Zynq chip. You should now be able to boot up Linux and start Snickerdoodling!
0 Comments
Your comment will be posted after it is approved.
Leave a Reply. |
