|
If you just went through the last blog post about creating a Vivado project you are probably exhausted. Thankfully there is a much easier way to develop your VHDL code via a scripting methodology. This post will perform the exact same task as the previous post but with only the click of a single button. There are a couple steps that one needs to take however in order to setup the scripting environment. The first step is to make sure that the correct version of Vivado is listed on the system path. On Windows 7 you will need to open up the system properties window and then click on environment variables. 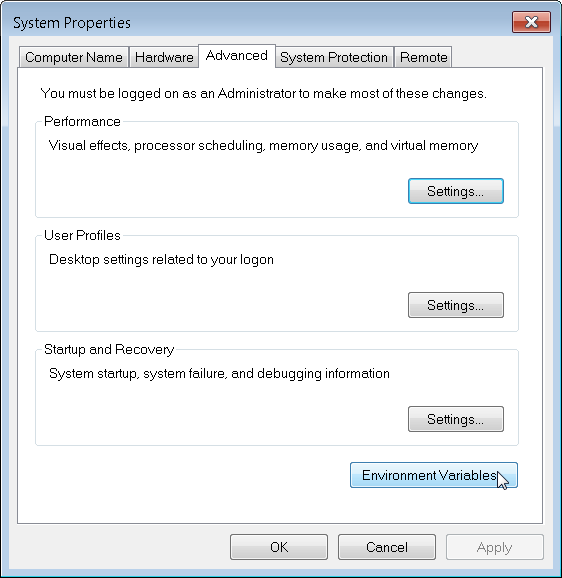 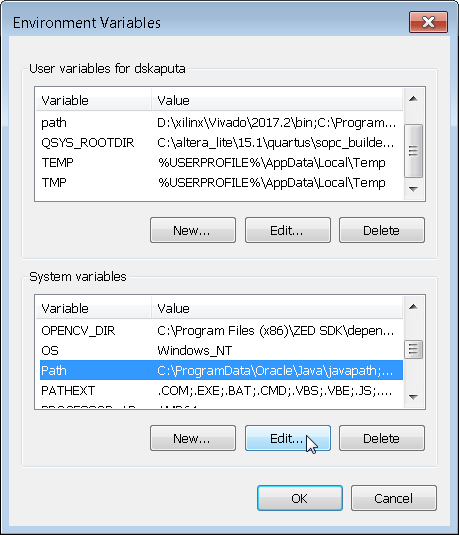 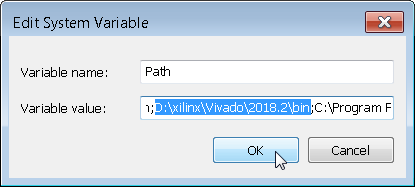   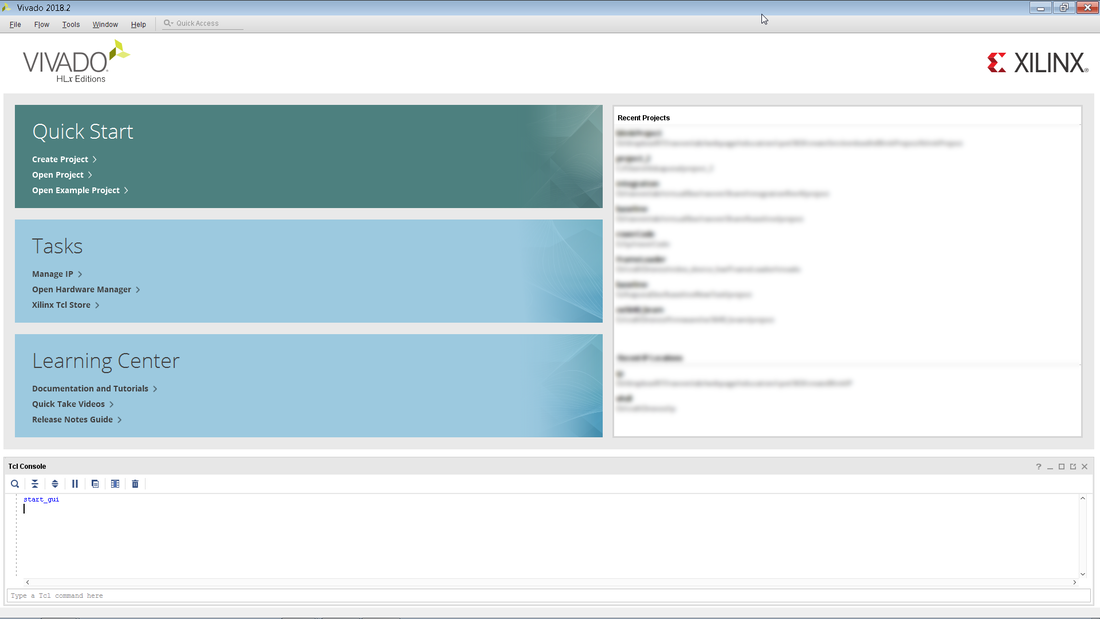
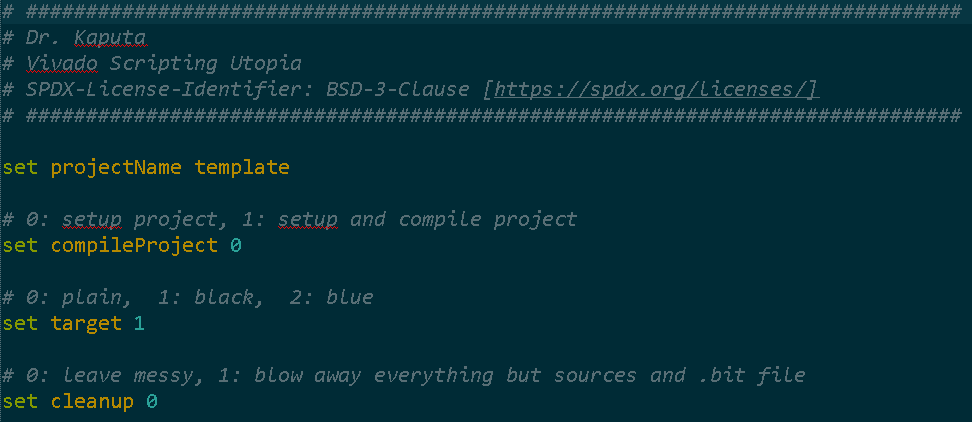
It is important to note that the script file has four main options that can be set by the user.
 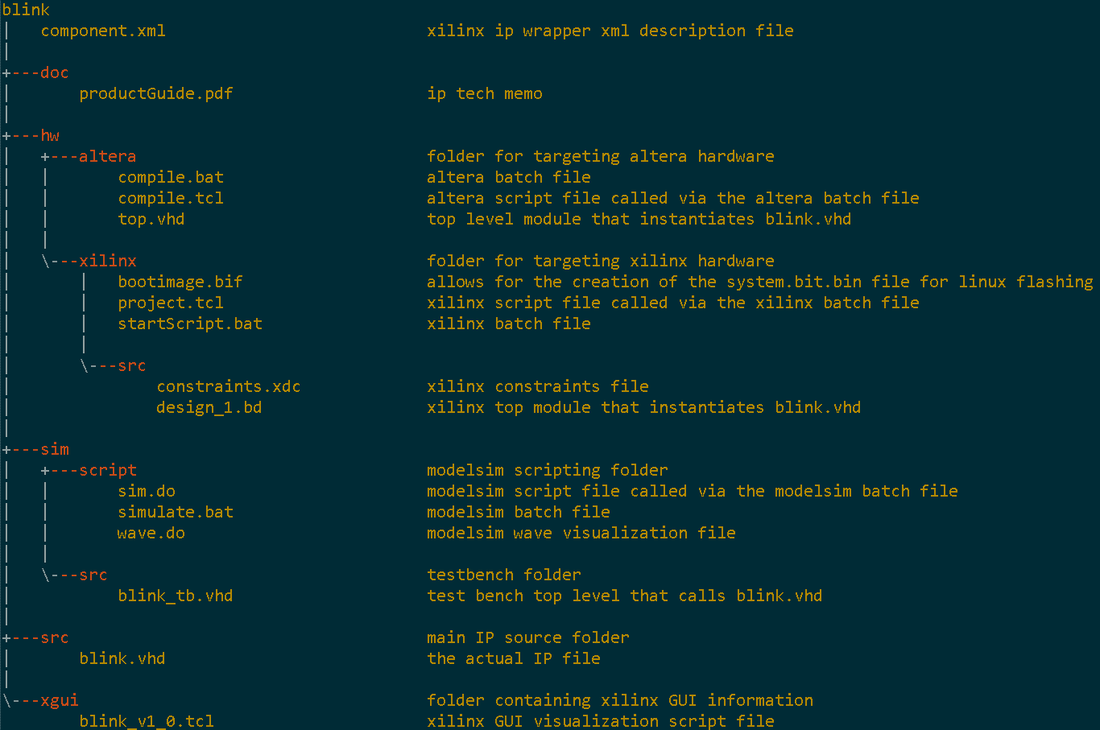 After clicking on startScript.bat, Vivado is kicked off in batch mode [no GUI appears] and a couple minutes later a system.bit and system.bit.bin file magically show up in the project folder. These are the same files that were generated via the Vivado GUI a couple blog posts ago! I highly recommend only using the GUI for updating the block diagram as scripting is very efficient and makes for very easy versioning and code portability. Also if you do have any errors during the build process you can take a look at the vivado.jou file or open up the GUI for troubleshooting.
0 Comments
Your comment will be posted after it is approved.
Leave a Reply. |
||
