|
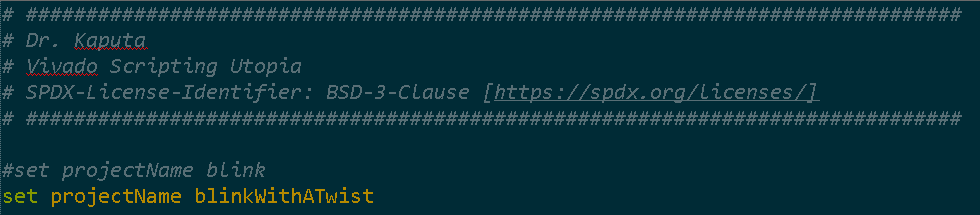
By now you have probably fallen in love with the scripting utopia process, but what is the best way to create a project that has multiple IP modules? This post will walk you though modifying our blink routine so that the blink frequency can be tuned via an input port in real time. We will create a new project that has both the old blink IP block as well as the new blink IP block instantiated within them. After completing this tutorial you should be on your way to creating complicated projects that have many IP blocks in them.
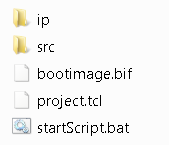
 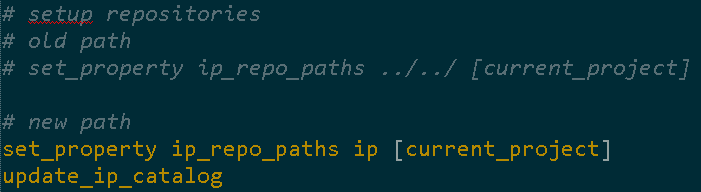 Your new folder structure should look something like this. All that you have effectively done is to copy the sample blink project, put it at the top level of the directory structure, and re-point it to the blink IP. 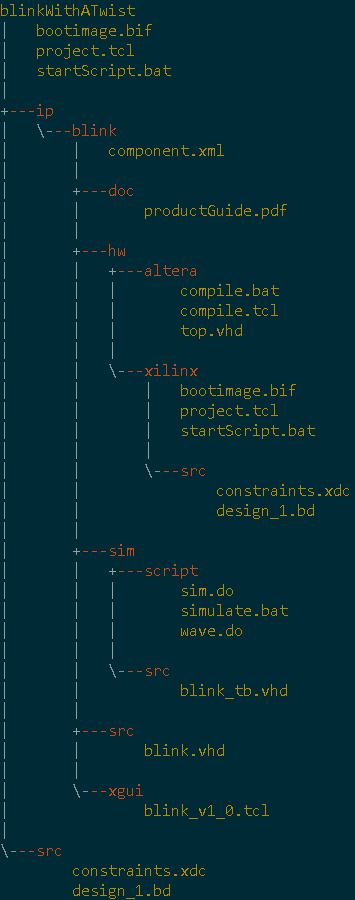 You should be able to click on startScript.bat to kick of the script which creates the Xilinx project. Once created you can go into the project folder and open the Vivado project to see something like the image below. Congratulations, you have just make your first hierarchical IP project. The next steps are to create our new tunable blink IP block and add it to the project. 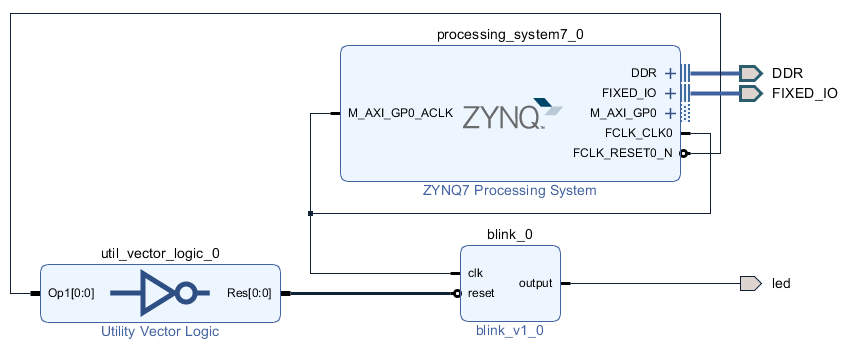 There are two distict ways to add some new IP to our blinkWithATwist project
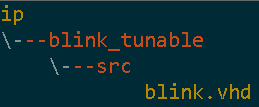
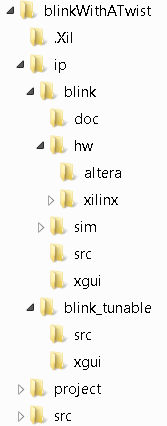
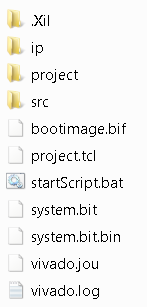
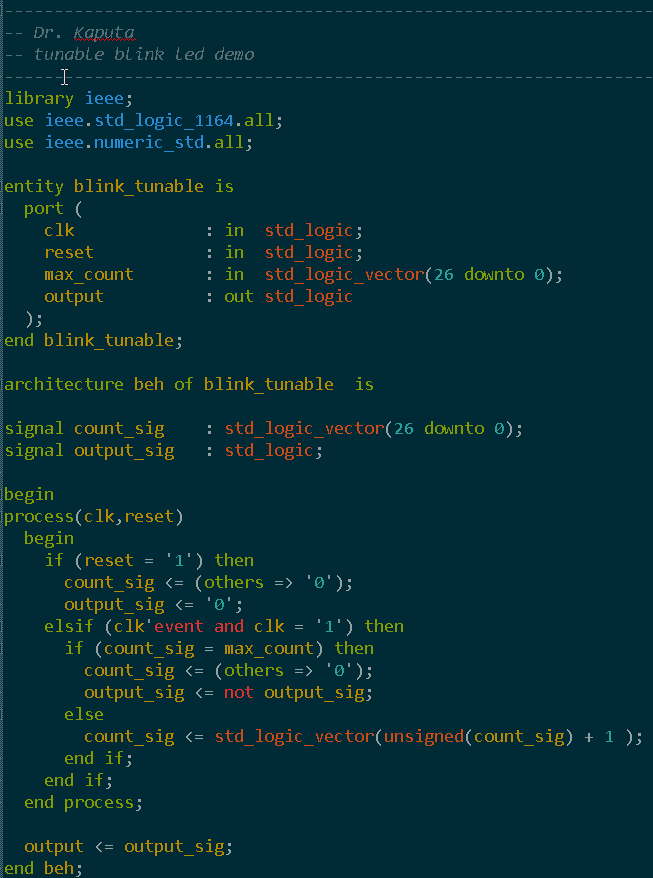 This file allows for a 1 Hz blink since 2^27 is 134,217,728 for max_count and we have a 100 MHz clock. After loading up the existing project that we copied to the top level folder, go to Tools and select Create and Package New IP.  Click on Next. 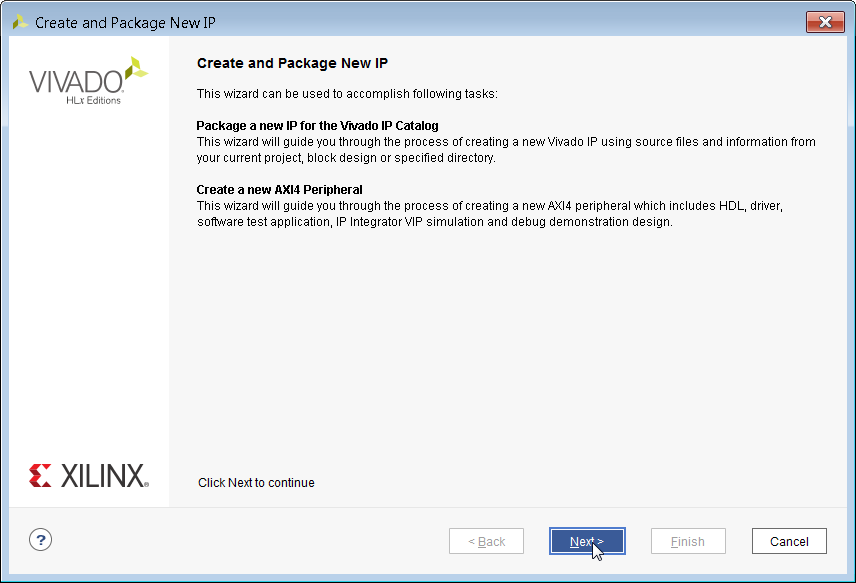 We will be packaging the contents of the newly created blink_tunable directory. 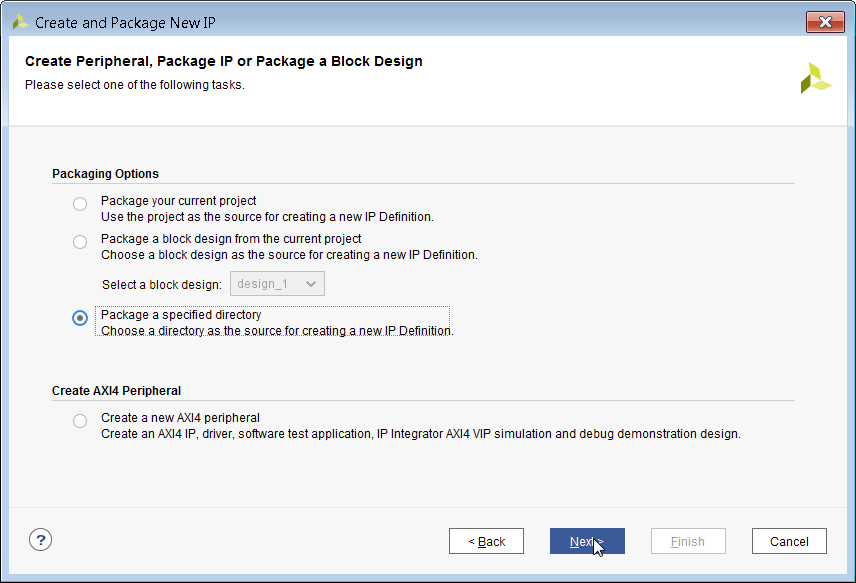 Navigate to the folder where your blink_tunable code is. Notice how mine is located in the IP folder that we created in an earlier step. 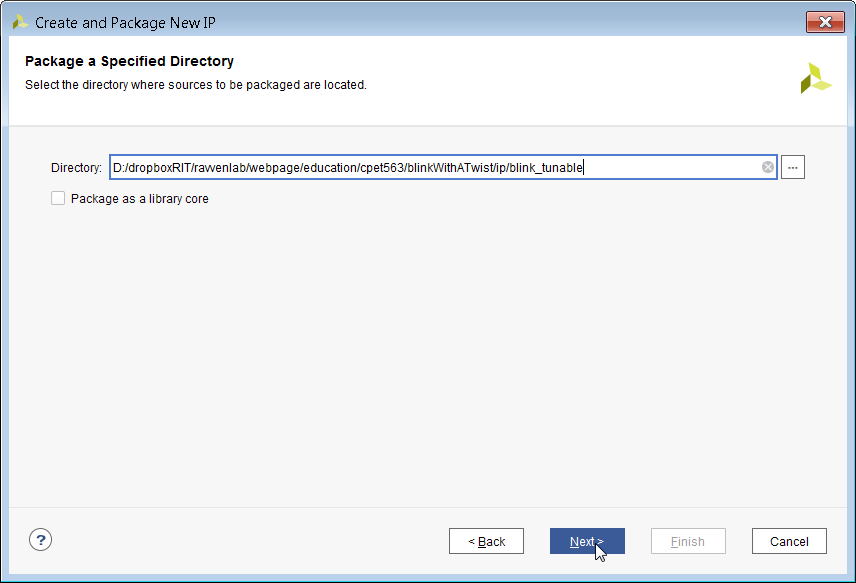 Click on Next as fast as you can for the next couple of screens.  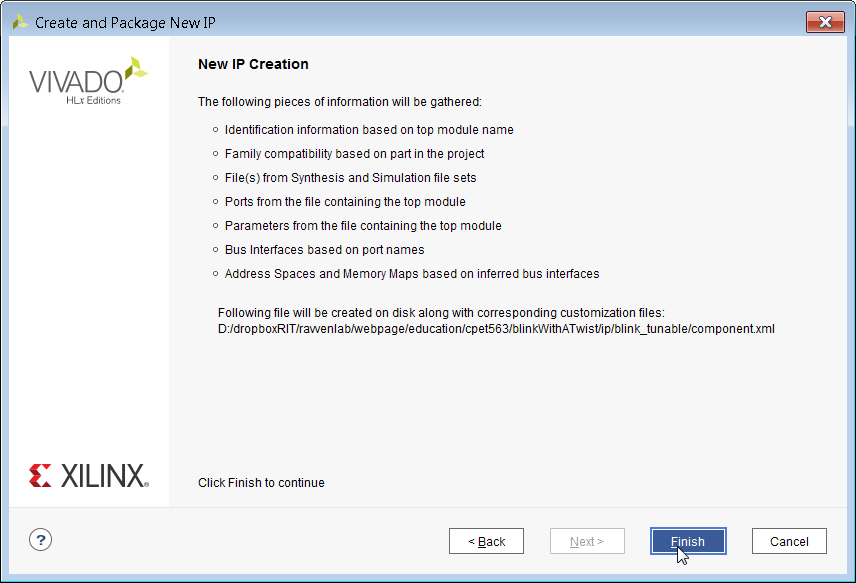 Perform a synthesis on your new IP to make sure there are no syntax errors in it. I also typically rename the vendor to something other than Xilinx. 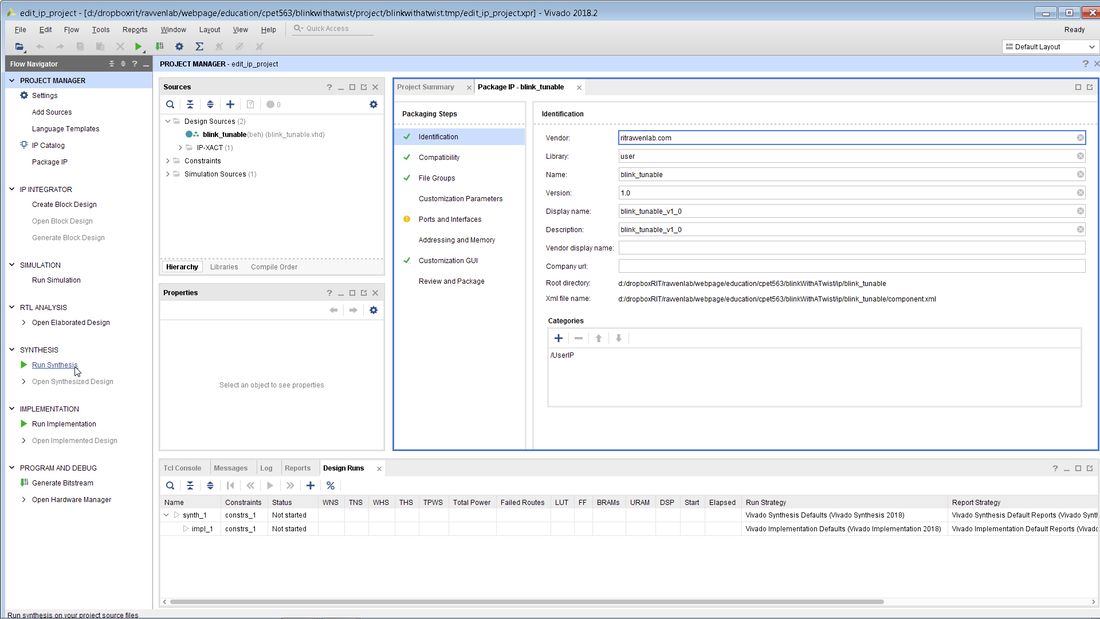 When synthesis completes successfully you can just cancel the pop-up window. 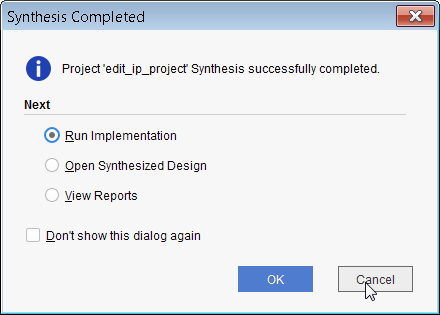 Click on Package IP. 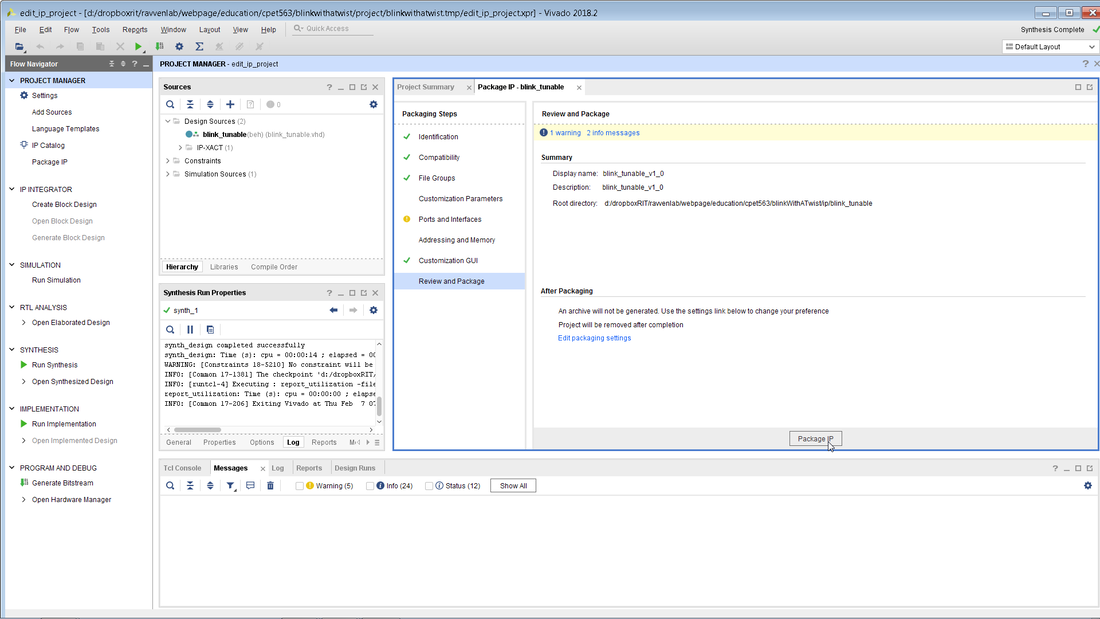 Close out of the temporary IP editing project. This will bring you back to the main project. 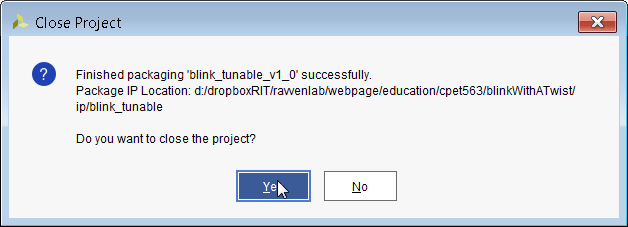 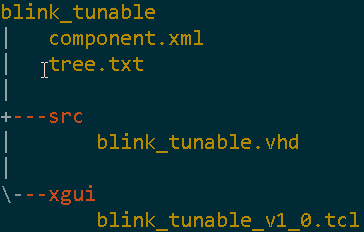 Right-clink in the block diagram and add the newly created blink_tunable IP. 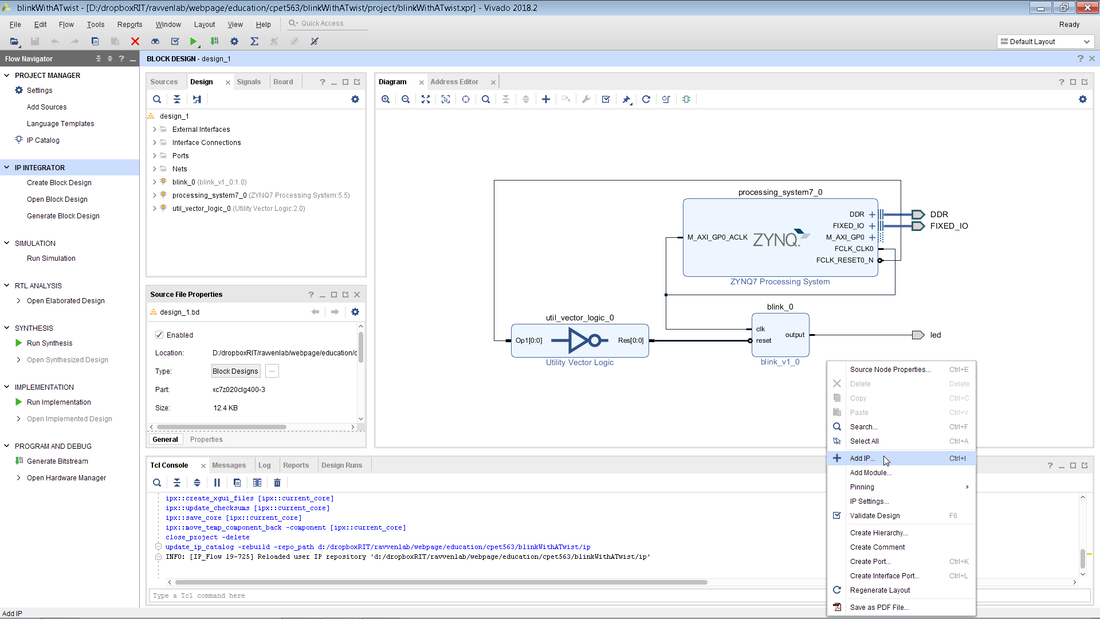 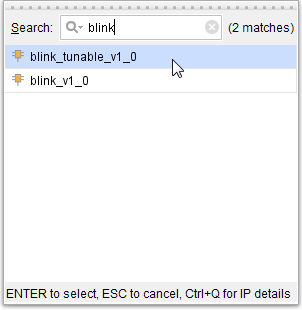 Connect it up as shown below. You will have to add a constant block and create an output port called led_tunable. I put a value of 100000000 into my constant which should effectively blink the LED at around 1 Hz [given a 100 MHz clock]. 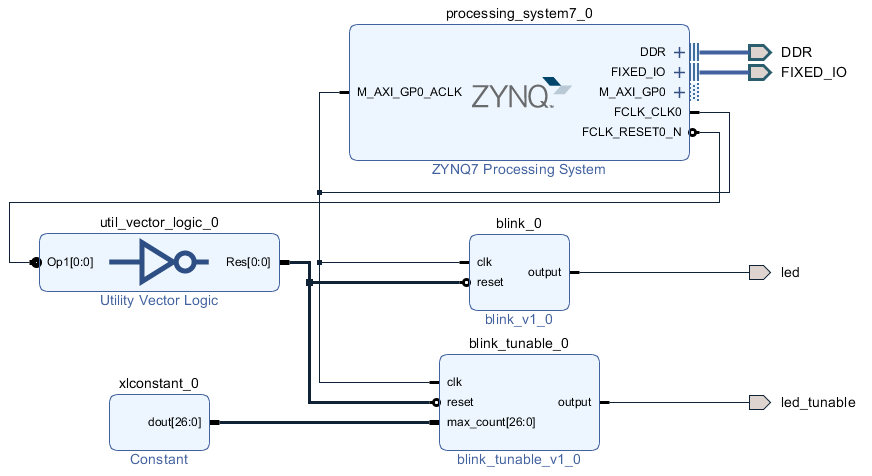 You will also have to update the constraints file [at the top level] to route the led_tunable signal to the proper FPGA pin. 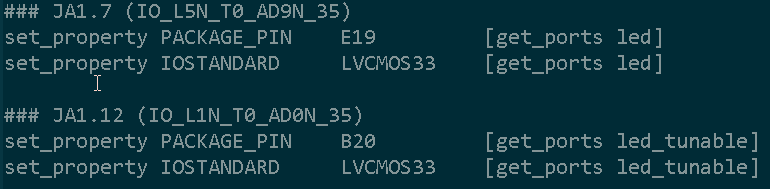 After updating the constraints file make sure to set the compile flag in the project.tcl to '1' and click on startScript.bat. After grabbing some coffee you should see the below file structures nicely generated. The left hand side shows the folder breakdown underneath the blinkWithATwist project folder and the right side shows the specific files that are found in the top level directory. The full blinkWithATwist project can be downloaded here. You can now either:
It is also recommended to go back and to flesh out the blink_tunable folder structure so that it matches the blink folder structure by adding the sim, doc, and hw folders to it. The easiest way to create the example Vivado project within the blink_tunable/hw/xilinx folder would be to:
1 Comment
Ravven Boi
2/11/2019 07:06:52 am
Thank you Dr. Kaputa, very cool! Your comment will be posted after it is approved.
Leave a Reply. |