|
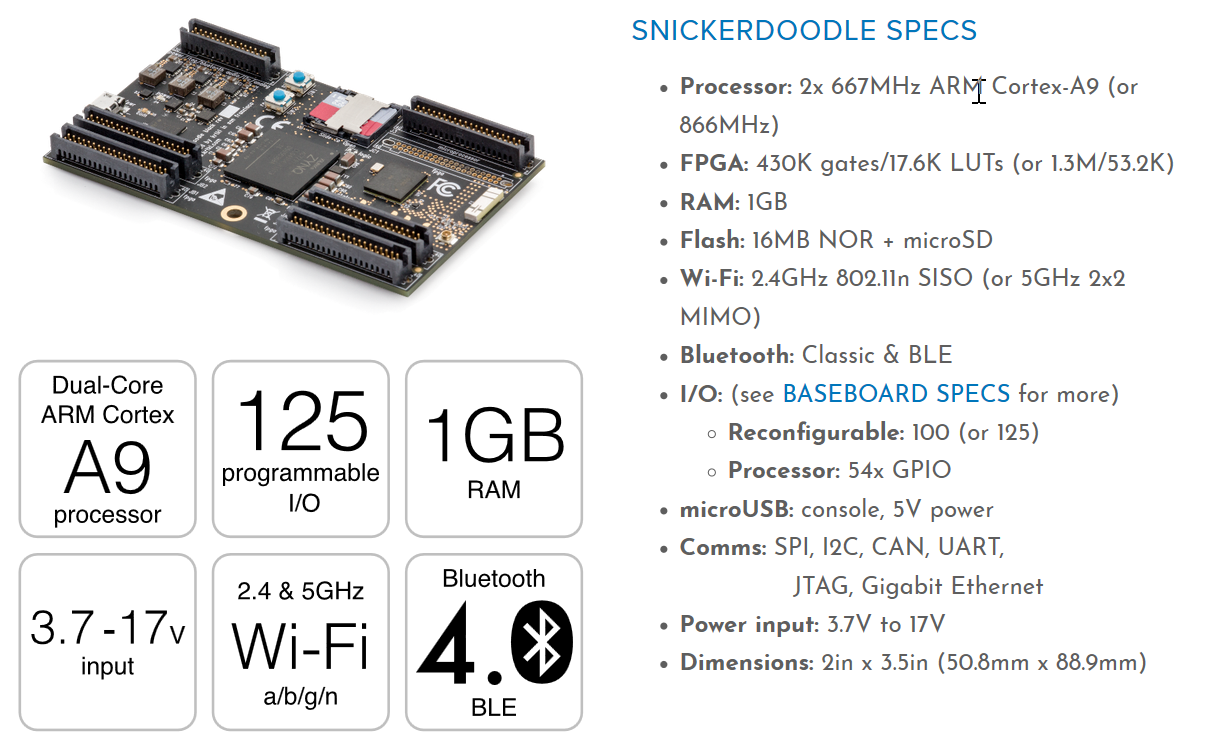
You may be wondering what the Snickerdoodle development board is. Check out krtkl.com to find out all about it. I have included some of its specs below. Essentially it is a super small and portable supercomputer containing an FPGA SoC as well as WiFi and Bluetooth. This tutorial will guide you through creating your very own SD card image based on the Ubuntu 16 file system.
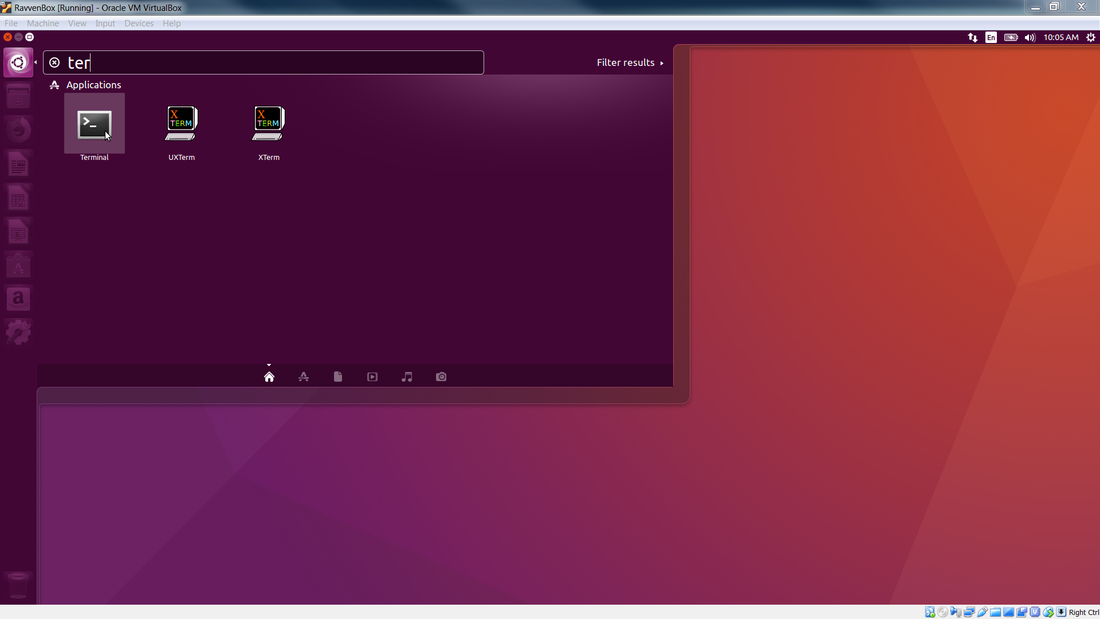
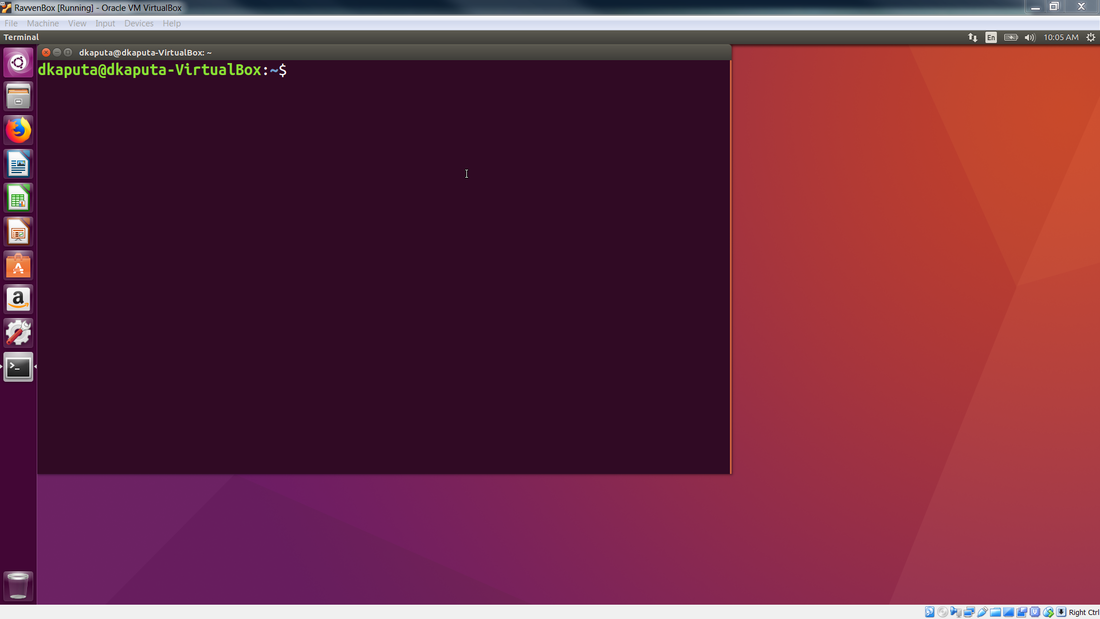
The first thing you will have to do is start up your linux virtual box which we covered here. Then open up a terminal window by first clicking on the Ubuntu symbol in the upper left, typing ter, and then clicking on the terminal icon. Then you should see the terminal open up as shown below.
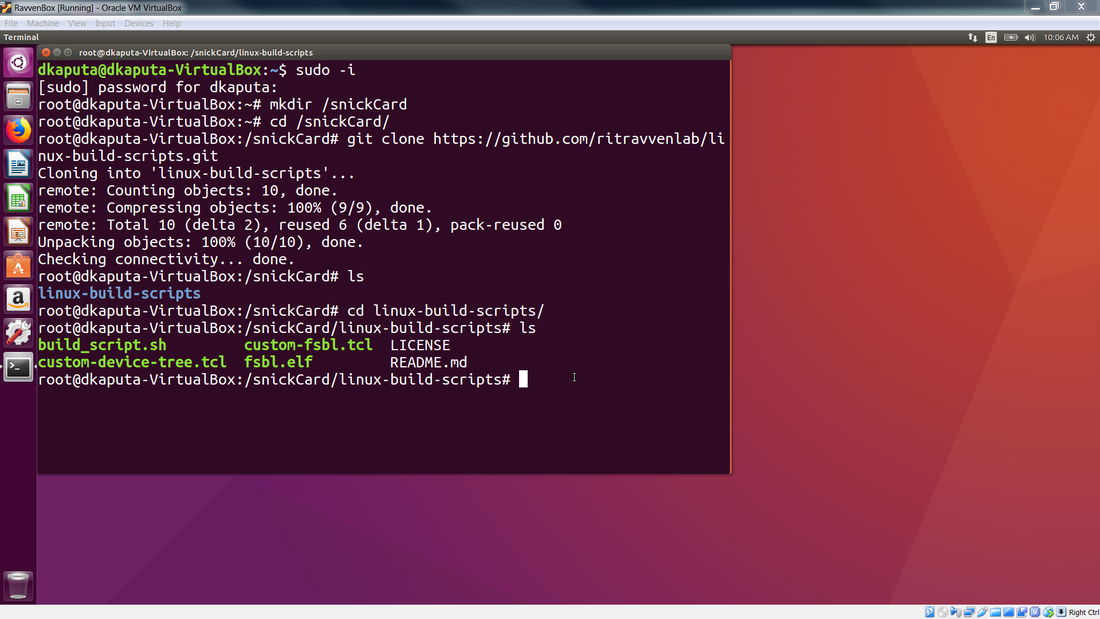
Once you are at the terminal you need to become the root user by typing sudo -i and then type in your password. Once you are the root user you will need to run the below commands to install the necessary software for the SD card compilation.
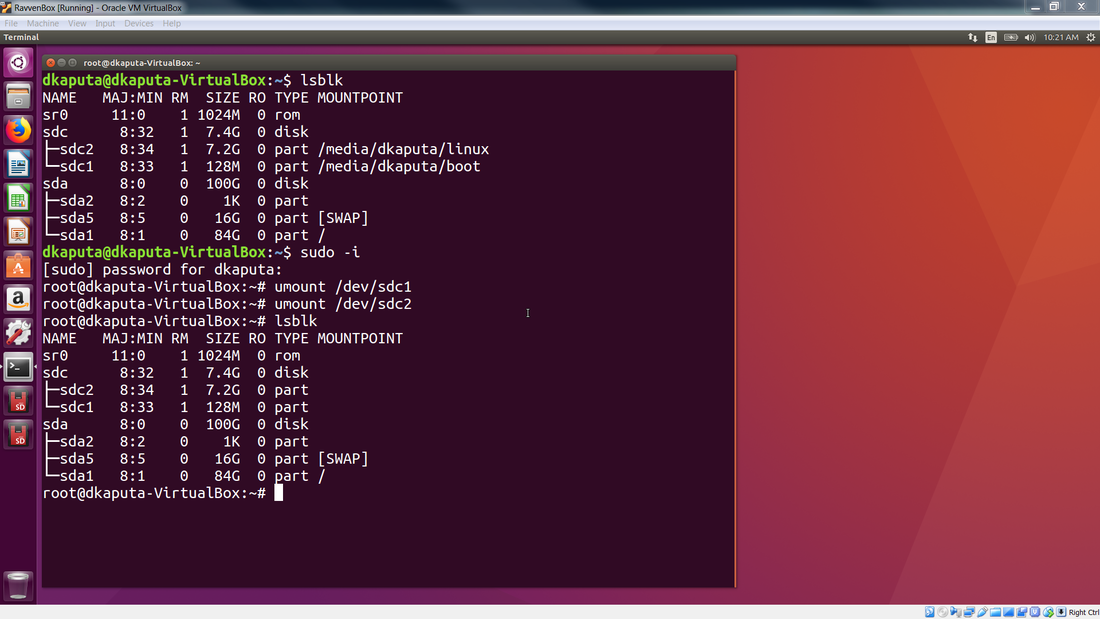
Once you have installed all of the necessary packages, create a directory where you will use as your sandbox to create the SD card. In the example I will create a directory called snickCard by typing mkdir /snickCard. The / will instruct the directory to be created at the base directory layer. You can then navigate to the directory by typing cd /snickCard. See the terminal image below. Note that I didn't pull down all the packages in the image as I already had them installed.
Once you are in your development directory you will want to clone the ritravvenlab linux build scripts repository by typing
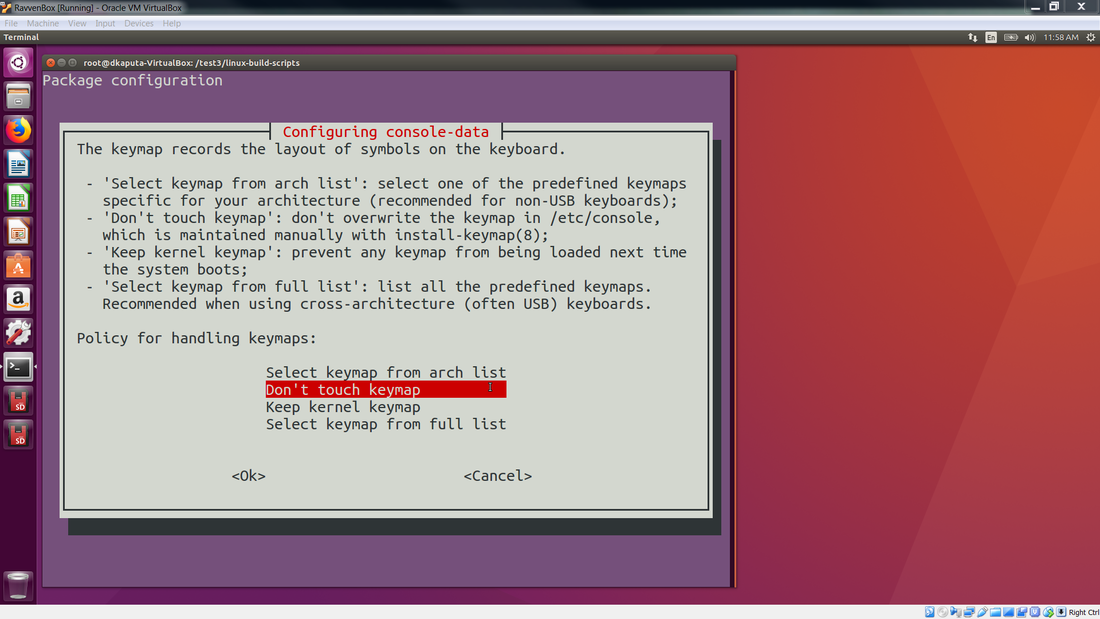
If you are feeling brave you can type ./build_script.sh all however I prefer to split things up a bit. Try the below command sequences: [also you may get prompted about keyboard configurations as shown below during the setup and I just use the defaults]

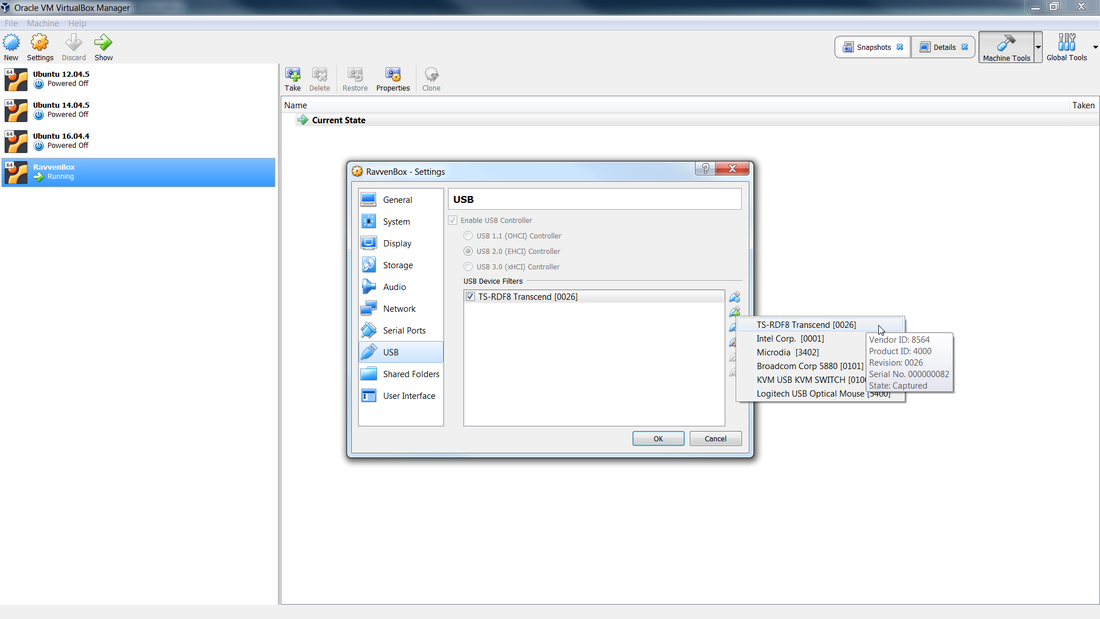
The last step is to copy that image onto your SD card. In order to do that you need to be able to see your SD card from your virtual box. This is sometimes much more difficult than it should be. I use a USB to SD converter module and plug it into my USB2 port. This is important as I have found that USB3 VM drivers are somewhat flaky. After the USB to SD card module is plugged into my USB2 port I then go to the USB tab under my VM settings and add the device as shown below. Once you do this your SD card should be able to be seen in your VM.
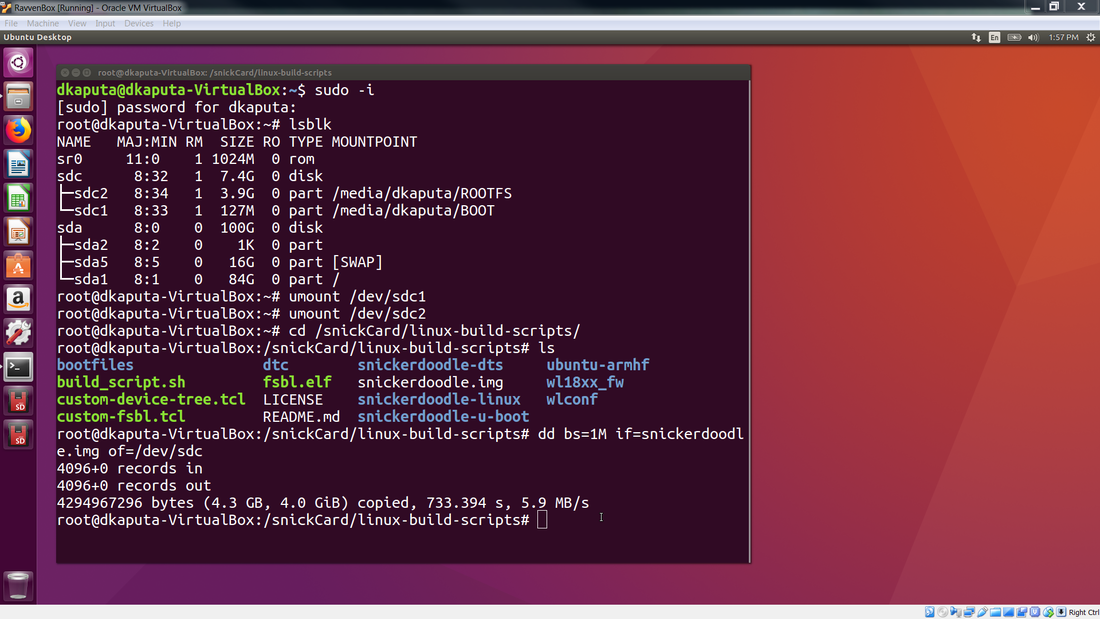
Now you can insert an SD card that will be flashed with the Snickerdoodle image. Be careful not to go crazy and use a 64 GB SD card as when you want to backup its image you will have a bunch of 64 GB backups taking up all of your disk space. I have found that 8 GB is a nice size which allows for roughly 4 GB of programs and gives you 4 GB for data. The first step is to unmount the SD card, and then you can dd the image over to it.
WARNING: Make sure to dd to the correct /dev/sdx location. For me it was /dev/sdc but it could be different for you.
Once this completes you should have a brand new Snickerdoodle SD card!
Note that another way to write to the SD card is to use Win32 Disk Imager via a Windows machine. 
0 Comments
Your comment will be posted after it is approved.
Leave a Reply. |
